
Think You’ve Painted Everything? 6 Surprising Items You’re Missing
I’ve spent years painting, tweaking, and experimenting around the house, and I’ve noticed something: the biggest transformations often come from the things we barely notice. You know, those everyday items tucked in corners, on shelves, or even hanging from walls that you never thought could make a difference. Most people walk past them, thinking, “That’s fine as it is,” but I’ve learned that a fresh coat of paint can completely change the way a space feels—almost instantly.
In this article, I want to show you six hidden items in your home that you probably didn’t know you could paint, and how doing so can give your rooms a quick, high-impact makeover. I’ll also share tips on the right paint, prep tricks, and mistakes to avoid so your efforts actually stick—and look amazing. By the end, you’ll see your home in a way you’ve never thought of before.
Why Painting Hidden or Unusual Items Works Better Than Replacing Them
You know, when I first started experimenting with paint makeovers, I used to think replacing old items was the only way to refresh a space. But the more I tried painting things I already had, the more I realized just how much time, money, and effort you can save. Instead of running to the store, I could completely transform a room with a few coats and the right technique.
Here’s why painting often wins over replacing:
- Cost-effective: A can of paint costs a fraction of buying new furniture or décor.
- Fast results: You can see a difference in hours instead of days or weeks.
- Design control: You get to choose the exact color, finish, and style—no compromises.
- Eco-friendly: Less waste, fewer new items shipped and manufactured.
Even on DIY forums, people share how painting small things like cabinet pulls or light fixtures instantly refreshed their entire room. If you want more inspiration, The Spruce has a solid list of household items you can paint that show just how transformative a little creativity can be.
1. Ceilings: The Fifth Wall Most People Forget
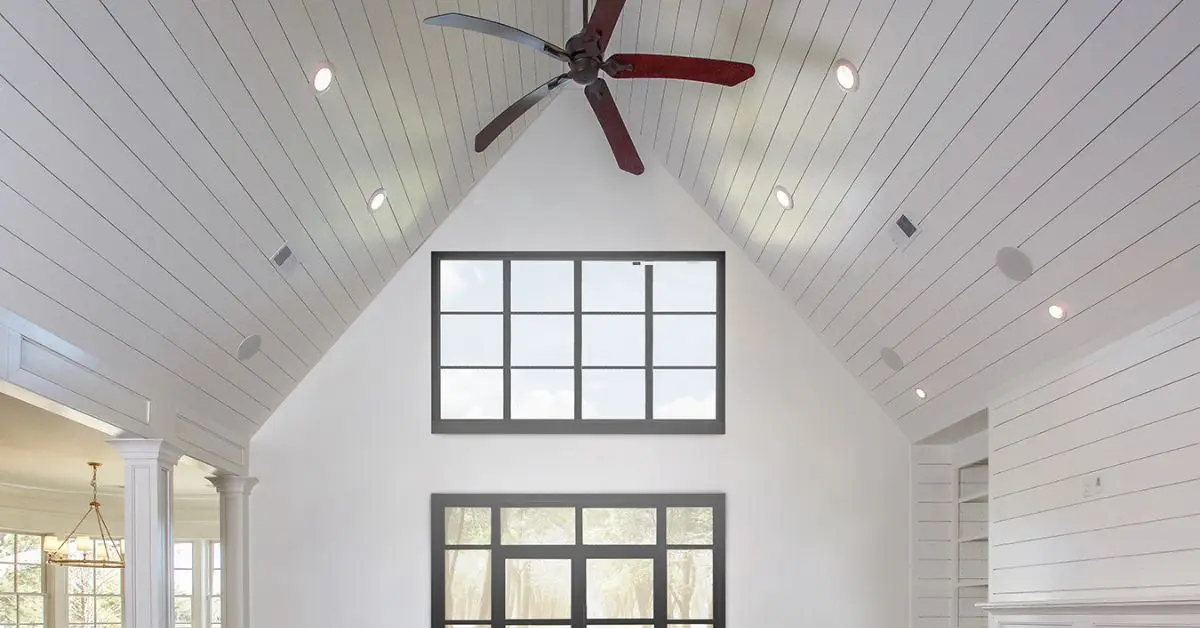
I can’t tell you how many times I’ve walked into a room and thought, “This ceiling is the secret to why this space feels off.” Most people forget that ceilings are literally the fifth wall, and painting them can completely change a room’s vibe. A pale blue can make a room feel airy, while a warm cream adds a cozy, inviting touch.
Why it works:
- Makes the room feel taller or cozier depending on color choice.
- Highlights architectural details you didn’t even notice before.
- Creates a subtle impact without overwhelming your décor.
Pro tip: I always go with a matte or eggshell finish for ceilings—it hides imperfections and keeps light soft. Pairing it with a slightly warmer tone than your walls can make the space feel balanced and welcoming.
2. Hardware and Small Metal Details (Cabinet Pulls, Lamp Bases)
Here’s one of my favorite tricks: never underestimate the power of tiny details. I started painting old cabinet handles, lamp bases, and even switch plates, and the room suddenly looked like it had undergone a full makeover. These small elements tie the whole space together.
Why it’s worth doing:
- High impact, low effort—you can transform a room in an afternoon.
- Helps unify different furniture pieces through color or finish.
- Makes old items feel brand new without spending a fortune.
Quick tips for success:
- Clean thoroughly to remove grease and dust.
- Lightly sand the surface to help paint stick.
- Use a metal-appropriate primer before adding color for durability.
3. Furniture Accents – From Chair Legs to Planter Boxes
I’ve learned that painting doesn’t have to be about the big pieces in your room. Sometimes, it’s the little accents on furniture that make the biggest difference. Chair legs, table edges, or planter boxes can suddenly pop with a fresh color and completely change the vibe of a space.
Why I love this trick:
- Uses what you already have—no need to buy new furniture.
- Lets you experiment with bold or unexpected colors safely.
- Helps tie together a room by matching accents across different pieces.
Quick creative tip: I often use leftover paint from another project to make color-coordinated accessories. A small tray, candle holder, or vase painted in the same shade can make everything feel cohesive and intentional. You can see some clever ideas for using leftover paint in DIY projects on Tom’s Guide.
5. Window and Door Frames – Hidden Color Pop Without a Full Reno
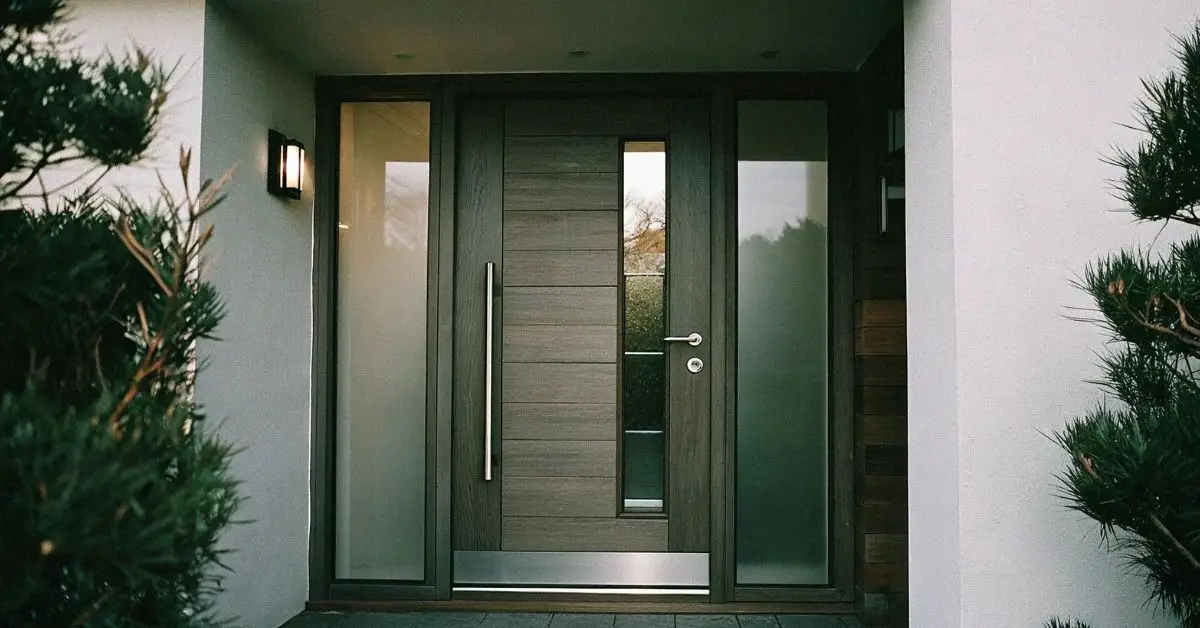
Here’s a little secret: painting window and door frames can completely transform a space. It’s such a small tweak, yet it defines the room’s edges, frames your views, and can even make natural light look brighter.
Why it’s worth trying:
- Adds a high-impact pop without tearing anything out.
- Frames architectural features and makes rooms feel finished.
- Works with both subtle accent shades and bold contrast colors.
Practical tip: I like to pick a color that complements the main wall tone or furniture accents. If you want ideas for colors that can make small spaces feel bigger, check out this guide on paint colors that shrink small rooms and smarter alternatives. According to Real Homes, a carefully chosen frame color can enhance natural light and visually expand a space, making this one of my favorite easy wins.
6. Fireplace Mantels & Architectural Features
If you’ve ever looked at a fireplace or an ornate architectural detail and thought it needed a refresh, I’ve got good news: painting these features can completely transform a room’s focal point. Even a subtle color change can make the space feel curated and sophisticated.
Why it’s worth trying:
- Adds design interest without major renovation.
- Makes older homes feel updated and stylish.
- Small investment, big visual payoff.
Quick caution: Avoid painting heat-exposed parts like the inner fireplace or flues. You’ll want to focus on the mantel and surrounding woodwork.
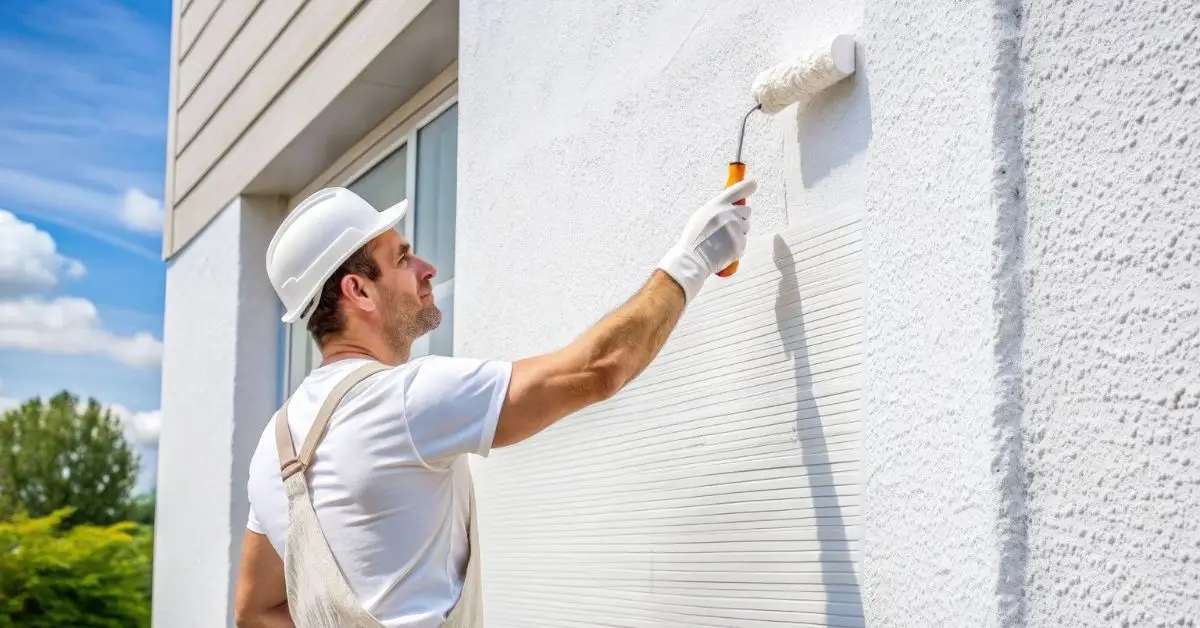
Preparation Tips for Success (Clean, Sand, Prime, Protect)
You can’t skip prep—it’s what separates a paint job that lasts from one that chips in a month. I always spend more time prepping than painting itself.
Key steps I follow:
- Clean thoroughly: Dust, grease, or residue prevents paint from sticking.
- Sand lightly: Smooths surfaces and gives paint something to grip.
- Prime first: Essential for tricky surfaces like metal or previously dark colors. If you want to make sure every surface you paint holds perfectly, I recommend checking out these expert insider tips before you paint tile and grout to avoid common DIY mistakes.
- Protect surroundings: Drop cloths, painter’s tape, and gloves save headaches.
Mistakes to Avoid: What You Shouldn’t Paint
I’ve seen friends ruin pieces they loved because they painted the wrong surfaces. Here’s what to watch out for:
Surfaces to avoid:
- Non-porous surfaces like melamine or laminate—they often peel or flake.
- Items exposed to heat, water, or food contact like stove tops, cutting boards, or sinks.
Painting these can cause damage, be unsafe, or simply fail. Avoiding these mistakes will save you frustration and money.
Quick Impact Finishes: When to Use Specialty Paint (High‑Temp, Outdoor, Fabric)
Some projects need a specific type of paint to last. I always check the surface and purpose before grabbing a brush:
Consider these options:
- High‑temperature paint for radiators, fire surrounds, or grills.
- Outdoor paint for planters or trim exposed to weather.
- Fabric paint for cushions, lampshades, or soft furnishings.
Picking the right paint ensures durability and avoids the trial-and-error frustration most DIYers experience. Before picking a specialty paint, it’s helpful to know how long exterior paint really lasts and when a fresh coat is needed—this way your project stays looking fresh longer.
What to Do After You’ve Painted (Decor, Styling, Cohesion Tips)
Once you’ve painted, don’t stop there! I always take a step back and think about how the new color interacts with the rest of the room.
Simple next steps:
- Rearrange furniture or accessories to highlight painted features.
- Add small decor pieces in complementary shades to tie the room together.
- Consider lighting adjustments—sometimes a new color looks even better under natural light.
I’d love to hear what you painted first and how it changed your space. Leave a comment below, or check out more DIY inspiration on my website Build Like New to see step-by-step guides and before/after projects.
Disclaimer: The tips and techniques shared here are for general DIY purposes. Always follow safety guidelines and manufacturer instructions when painting surfaces. Results may vary depending on materials, paint type, and skill level.

