
After the Flu: 30 Home Areas You Need to Sanitize Now
I’ll be honest—when someone in your home gets the flu, it’s not just about making them comfortable. You start noticing every little surface and wondering if it’s harboring germs. I’ve been through this enough times to know that a quick wipe-down isn’t enough. The flu virus can linger on doorknobs, remote controls, and even your favorite coffee mug longer than you’d expect.
That’s why I want to walk you through the 30 spots you absolutely need to clean after someone’s been sick, and how to do it effectively without turning your home upside down. Think of this as your practical, no-nonsense guide to protecting yourself and your loved ones—and yes, you’ll finish this feeling more in control than stressed out.
Understand Flu Virus on Surfaces: What You’re Fighting
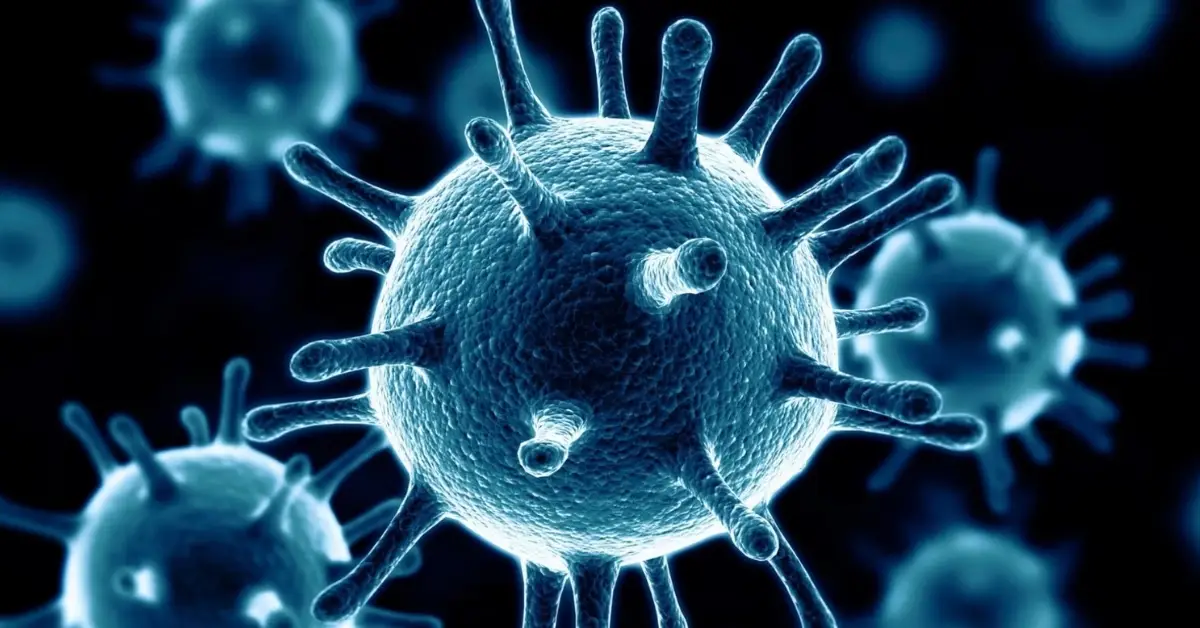
Before we start scrubbing, it helps to know exactly what you’re up against. I want you to picture the flu virus as a tiny ninja—it can cling to surfaces you touch every day, and sometimes longer than you’d expect. Understanding where it hides and how long it survives makes cleaning less overwhelming and more strategic.
How Long Flu Germs Live on Different Surfaces
Not all surfaces are created equal when it comes to germs. Here’s what I’ve learned from experts:
- Hard, non-porous surfaces like doorknobs, countertops, and light switches can hold flu viruses for 24–48 hours.
- Soft surfaces like bedding, couches, and towels usually harbor germs for 8–12 hours, but they can still spread infection if touched.
- Electronics and remote controls? Germs can survive up to 24 hours, which is why I always make a point to wipe them down after someone’s sick.
Knowing this helps you prioritize high-risk spots first, so you’re not wasting time cleaning areas that pose little risk.
Cleaning vs Sanitizing vs Disinfecting Explained
I know these terms get tossed around a lot, but they’re not interchangeable:
- Cleaning – removes dirt and some germs but doesn’t necessarily kill them. Use this for surfaces that aren’t heavily touched.
- Sanitizing – reduces germs to a safe level, often used on kitchen counters or cutting boards.
- Disinfecting – kills almost all germs on a surface. This is your go-to for doorknobs, light switches, and anything the sick person touched frequently.
Choosing the right method prevents overdoing it and keeps you safe from chemical hazards.
When to Clean: Timeline (During, After, Deep‑Clean)
Timing is everything. Here’s my approach:
- During illness – focus on high-touch areas and laundry; you don’t need a full deep-clean every day.
- Immediately after recovery – give your home a thorough wipe-down of all surfaces the sick person touched.
- Deep clean (7–10 days after symptoms end) – includes soft surfaces like curtains, upholstered furniture, and rarely touched areas that might still harbor germs.
Following this timeline makes cleaning feel manageable instead of endless and if you want to avoid the most common mistakes people make after someone gets sick, check out my guide on 5 flu cleaning mistakes to stop germs from spreading. For a full guide on effective disinfecting, I like to reference Healthline’s expert tips on disinfecting your house after the flu.
The Core 30 Must‑Clean Spots (Grouped by Room/Category)
Let’s get to the heart of it—the 30 surfaces you really need to tackle after someone in your home has had the flu. I like grouping them by room because it makes cleaning feel less chaotic, and you can check things off as you go.
Bedroom (8 key surfaces)
Your bedroom is basically the sick person’s headquarters, which means germs settle everywhere. I always start here:
- Bed linens & pillowcases – wash in hot water; don’t skip the pillow itself if it’s washable.
- Mattress surface edges – germs love the seams and edges.
- Headboard & nightstands – these surfaces get touched constantly.
- Light switches near bed – easy to overlook but high-touch.
- Dresser drawer handles – hands reach here dozens of times a day.
- Remote controls – the flu virus can hang out here for hours.
- Closet door handles – even minor touches matter.
- Soft toys or frequently touched fabrics – consider a machine wash or disinfecting spray.
Why I focus here: Everything listed is within the breathing zone or gets constant contact, so skipping these spots can undo all your cleaning efforts.
Bathroom (6 key surfaces)
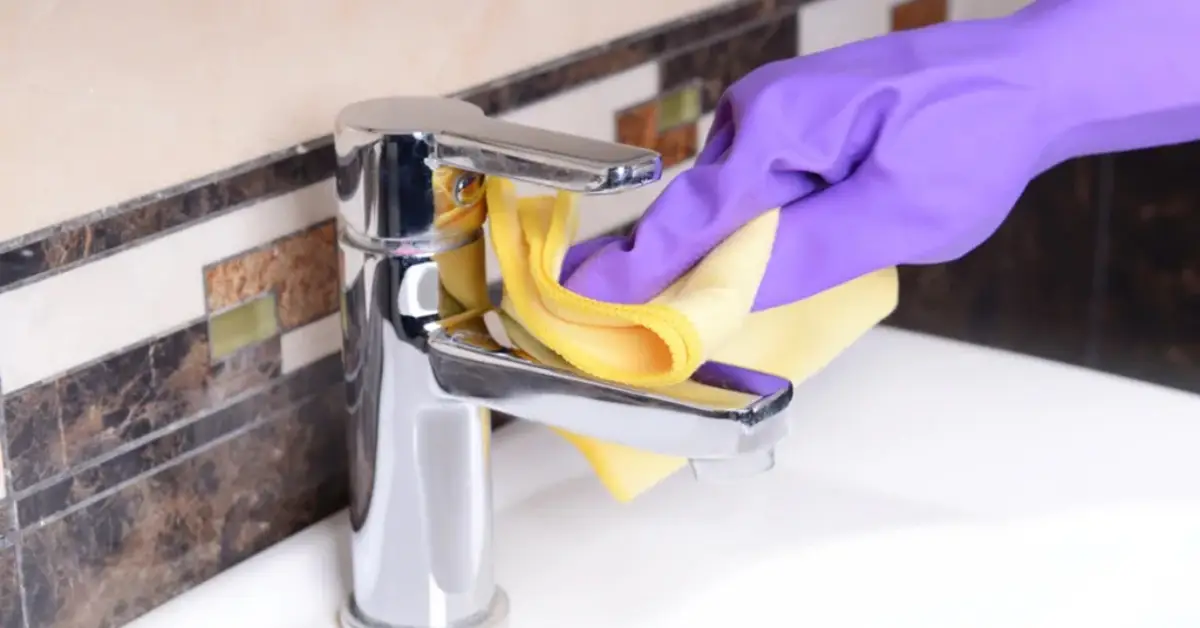
Bathrooms are tricky because moisture lets germs linger longer. Here’s my checklist:
- Toilet seat & handle
- Sink faucet handles
- Countertops
- Shower knobs
- Towel racks & shared towels – swap or wash towels daily during flu season.
- Toothbrush holders – honestly, replacing the toothbrush is safer. When cleaning the bathroom, it’s tempting to rely on wipes for a quick job, but don’t be fooled by so-called flushable wipes—they can actually ruin your plumbing and pipes. Read more about this in my guide on how flushable wipes affect your home.
Why it matters: High-touch interfaces here can spread germs fast, so a good wipe-down plus hot water on towels goes a long way.
Kitchen & Dining (6 key surfaces)
The kitchen is where germs meet your food, so cleaning here is non-negotiable:
- Refrigerator door handles
- Cabinet handles
- Countertops & prep surfaces – disinfect after each use.
- Microwave/oven handles
- Dishwasher buttons/handles
- Dining table & chairs
Why I focus here: These surfaces touch your hands and food constantly, which makes them major infection points. For some additional pro cleaning tips, I often reference The Spruce’s guide to cleaning high-touch areas.
Living/Common Areas (6 key surfaces)
Shared spaces are a secondary battlefield for flu germs. Don’t skip these:
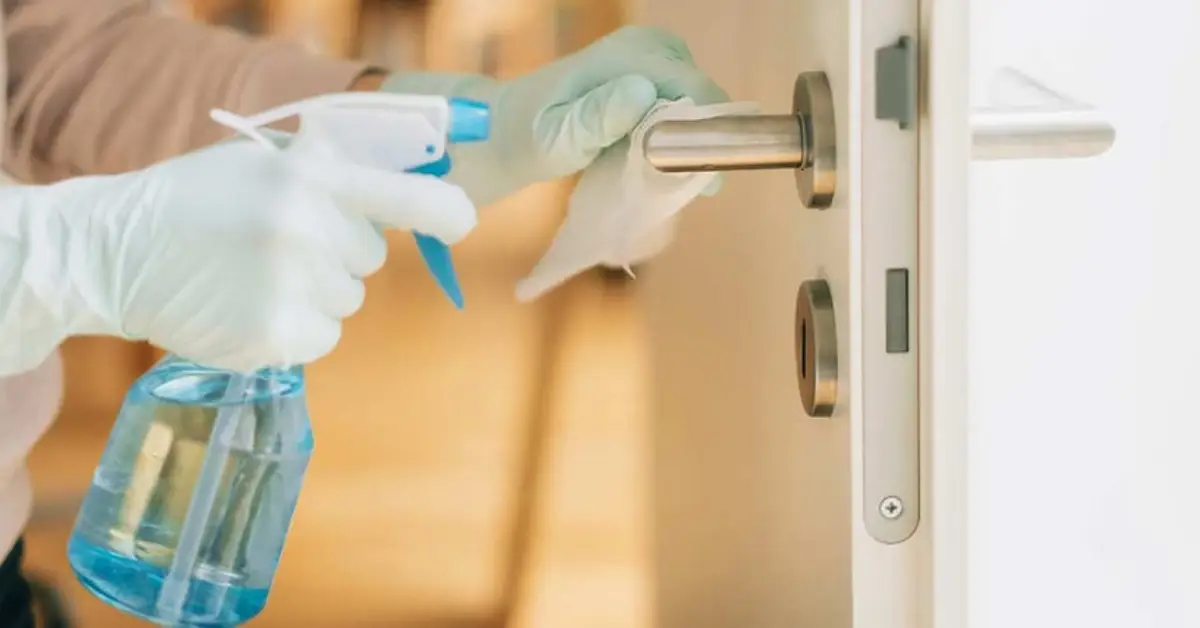
- Doorknobs & door frames
- Light switches throughout
- Remote controls & game controllers
- Couch armrests & cushions
- Coffee/side tables
- Phones & chargers
Why it matters: These connect all household members. If you skip them, everyone else can get sick even after your bedroom deep clean.
High‑Touch Extras (4 key surfaces)
Some surfaces get overlooked but are surprisingly germy:
- HVAC/air purifier filters – germs can circulate through airflow.
- Stair railings – everyone grabs them.
- Pet area touchpoints – your furry friends can carry droplets.
- Trash can lids – especially if used for tissues or masks.
Why it matters: These are often ignored, but I’ve found addressing them makes the biggest difference in keeping the house fully safe.
Cleaning Tools, Products & Step‑By‑Step Guidance
Knowing what to clean is one thing, but using the right tools and products makes all the difference. I’ll walk you through exactly how I approach it, so you’re efficient without overdoing it.
Best Products for Each Surface Type
- Hard surfaces – disinfectant sprays or wipes work best. I keep a bottle handy for doorknobs and counters.
- Soft surfaces – laundry-safe fabrics like pillowcases or machine-washable couch covers are ideal. For non-washable upholstery, use a fabric-safe disinfectant.
- Electronics – microfibre cloths slightly dampened with alcohol-based cleaner prevent damage.
How to Clean Electronics Safely
- Always unplug devices before wiping.
- Use soft, lint-free cloths with a small amount of cleaner.
- Avoid spraying liquids directly on screens or buttons—spray on cloth first.
Laundry Tips for Flu Clothing/Bedding
- Wash sheets, pillowcases, and towels in hot water (≥140°F).
- Use a hot dryer cycle to fully kill germs.
- I keep laundry baskets separate for items used by the sick person to avoid cross-contamination. And these 4 simple cleaning habits can slash your family’s risk of catching colds and flu even further.
When to Replace vs Clean
- Toothbrushes – replace after the person recovers; cleaning alone isn’t enough.
- Sponges and cloths – replace or sanitize daily during flu season.
- Reusable masks or small cleaning cloths – consider washing or swapping regularly.
Why this matters: Following these practical steps increases the chances that your cleaning actually stops germs, instead of just moving them around.
Safety First: Protect Yourself While Cleaning
I’ve learned the hard way that cleaning aggressively can backfire if you don’t protect yourself. Here’s how I stay safe:
Protective Gear Recommendations
- Gloves are a must for disinfecting high-touch surfaces.
- Masks help if you’re dealing with dust, laundry, or sprays.
- Goggles or eye protection when using stronger chemicals.
Ventilation & Household Air Quality Tips
- Open windows or turn on exhaust fans while cleaning.
- Keep HVAC filters clean to prevent airborne germs.
What to Avoid
- Never mix bleach with ammonia or vinegar—it creates dangerous fumes.
- Avoid overusing disinfectants; more isn’t always better.
- For additional expert guidance on chemical safety, I often refer to The Washington Post’s cleaning safety tips.
Why this matters: Safety is often overlooked, but it’s crucial to avoid accidents while keeping your home germ-free.
Smart Timing: Daily vs Deep Clean Schedule
Cleaning without a plan can feel overwhelming. Here’s how I organize it so you stay consistent but sane:
Cleaning Plan for During Illness
- Focus on high-touch surfaces like doorknobs, counters, and bathroom handles.
- Wash linens and towels daily.
- Light dusting of common areas is fine; save the heavy clean for later.
Cleaning Plan for Immediately After Recovery
- Wipe down all high-touch surfaces thoroughly.
- Deep clean bathrooms, kitchen, and living areas.
- Do a full laundry cycle for bedding, clothing, and towels.
Weekly Maintenance Plan to Prevent Reinfection
- Continue wiping high-touch surfaces daily for at least a week.
- Schedule one weekly deep clean for soft surfaces and electronics.
- Monitor household air circulation and replace HVAC filters if needed.
Data & Myth‑Busting
Let’s clear up some confusion. I’ve noticed a lot of panic around germs, especially online, and I want you to have the facts so you can clean smart, not obsessively.
What Evidence Says About Flu Transmission from Surfaces
- Studies show that flu viruses can survive on surfaces, but the actual risk of catching it from touching a doorknob or counter is lower than most people assume.
- Most household infections happen through close contact and airborne droplets, not casual surface contact.
- That’s why I focus on high-touch areas first—bedroom, bathroom, kitchen, and living room surfaces.
What Doesn’t Need Routine Disinfection
- Items that rarely get touched—like decorative items, walls, or baseboards—usually don’t need daily cleaning.
- Excessive disinfecting can actually irritate your skin and respiratory system.
Why this matters: Understanding what truly matters stops fear-mongering and gives you confidence to clean effectively without turning your home upside down.
A Sanitary Home After Flu Without Overkill
Here’s the bottom line: you don’t need to disinfect every single thing in your house. Focus on the 30 key surfaces, follow a sensible cleaning timeline, and protect yourself while doing it.
If you stick to the plan, your home will be safe, healthy, and manageable—and you’ll feel in control rather than exhausted.
Now I’d love to hear from you:
- Which surfaces in your home are hardest to keep germ-free?
- Have you tried any of these cleaning routines, and what worked best?
Share your tips or questions in the comments below—I read every single one! And for more practical guides and real-world tips for keeping your home healthy and efficient, check out my website: Build Like New.
Disclaimer: This article is for informational purposes only. It does not replace professional medical advice. Always follow guidance from healthcare providers or official sources like the CDC when dealing with illness in your home.

