
Refresh Your Cabinets Fast—No Major Remodel Needed
I know the feeling—staring at your kitchen cabinets and thinking they look tired, outdated, or just plain “meh.” You love your kitchen, but the thought of tearing everything out, spending weeks in chaos, and draining your savings? No thank you. I’ve been there, and that’s why I want to show you how to give your cabinets a fresh, modern look without gutting your entire kitchen.
In this guide, I’ll walk you through practical, budget-friendly ways to update your cabinets—whether it’s swapping hardware, painting, adding a pop of color, or even trying small DIY tricks that make a huge visual difference. By the end, you’ll have ideas you can actually put into action this weekend, without sacrificing style or breaking the bank.
What It Means to “Refresh” Kitchen Cabinets
When I say “refresh” your cabinets, I don’t mean tearing out everything and starting over. Refreshing is about giving your existing cabinets a new lease on life—think painting, swapping hardware, or minor surface updates. Replacing or refacing, on the other hand, involves completely changing the cabinet fronts or buying new ones.
You might wonder when a refresh makes sense. In my experience, it works best when:
- Your cabinet structure is solid, without warped doors or water damage.
- The style feels outdated, but the boxes and hinges are in good shape.
- You want a cost-effective update that doesn’t disrupt your kitchen workflow.
For a typical refresh, you can expect to spend a few hundred dollars and a weekend or two, depending on how hands-on you want to be. Compare that to a full remodel, which often takes weeks and can cost thousands. If you want a detailed look at cost ranges, check out The Spruce’s guide on cabinet painting and refacing.
Quick Prep Steps Before You Start (Why It Matters)
Before diving into paint or new hardware, a little prep work goes a long way. Skipping these steps is a common mistake I see—and it often leads to frustration or a finish that doesn’t last.
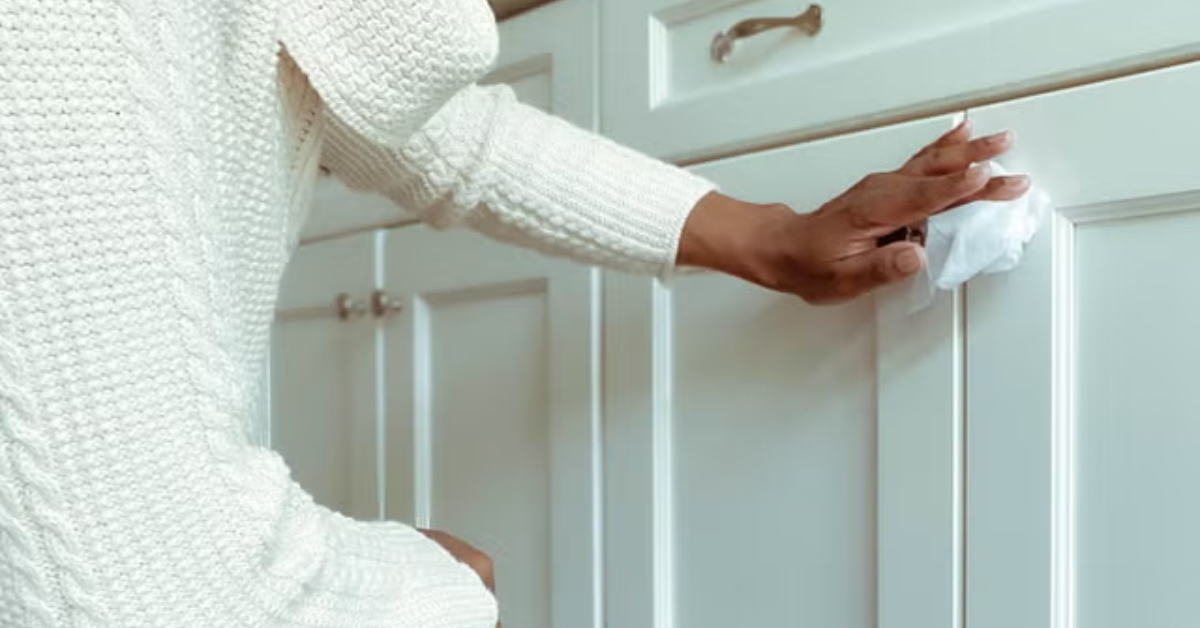
Deep Clean & Degrease
Grease and grime are the hidden enemies of a smooth, durable cabinet finish. I always start with:
- A good degreasing solution or dish soap mixed with warm water.
- A microfiber cloth to scrub all surfaces, inside and out.
- Letting the cabinets dry completely before touching paint or adhesive. For a detailed, step-by-step guide, see our guide on the right way to clean wood kitchen cabinets for tips on removing stubborn grease and dirt.
Proper cleaning ensures your paint or peel-and-stick updates stick properly, and your cabinets look polished, not patchy. If you prefer gentle, chemical-free methods, check out our 10 amazing hacks to degrease greasy kitchen cabinets without harsh chemicals for safe and effective alternatives.
For recommended cleaning solutions and step-by-step guidance, Lowe’s has a helpful cabinet prep guide.
Evaluate Surface & Structural Issues
Next, take a careful look at the cabinet surfaces. Ask yourself:
- Are there cracks, chips, or holes that need filling?
- Are the doors warped, or the hinges loose?
- Will a minor repair fix it, or do you need more significant work?
I always patch small holes with wood filler and lightly sand rough spots. If the cabinet structure itself is compromised, no amount of paint or hardware will make it look professional, so addressing these issues upfront saves a lot of headache later.
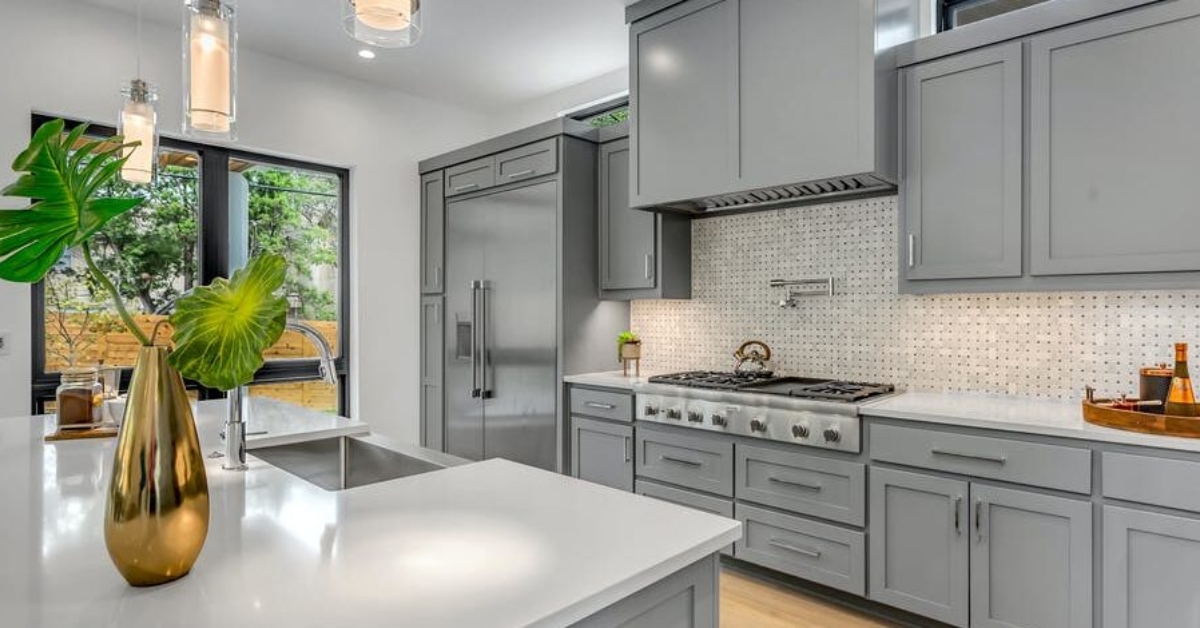
Budget‑Friendly Visual Refreshes That Don’t Require Gutting
If you want a big visual change without tearing anything out, there are plenty of options that are surprisingly inexpensive. These are the updates I turn to first when a kitchen feels tired but the cabinets themselves are still in good shape.
Swap or Upgrade Hardware (Knobs & Pulls)
One of the easiest ways to make your cabinets look fresh is by updating the hardware.
- Matte black or brushed brass are trending styles that instantly modernize a space.
- A simple swap can completely change the visual weight and feel of your cabinets.
- This small change also allows you to experiment with finishes without committing to paint.
Even just replacing the knobs and pulls can give your kitchen that designer touch.
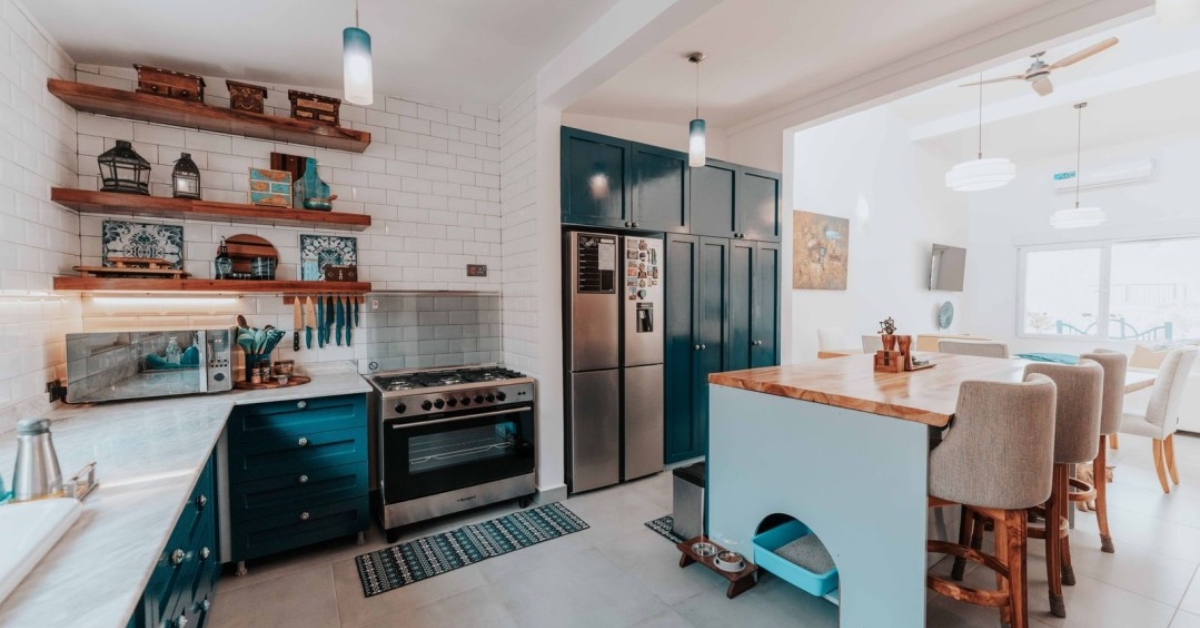
Paint Your Cabinets (DIY or Professional)
Painting remains the most common and versatile refresh.
- Lighter colors like soft gray or creamy white can make a kitchen feel bigger and brighter.
- Darker, moody hues add drama and work well on accents or island cabinets.
- Consider cabinet-grade primers and finishes to ensure durability.
- DIY painting can be done in a weekend, while professional services cost more but deliver a smooth, long-lasting finish.
For a complete step-by-step approach to refreshing cabinets, Martha Stewart’s guide on how to refresh kitchen cabinets is a reliable resource.
Add Peel‑and‑Stick Elements (Wallpaper or Veneer)
If you want a pop of personality without commitment:
- Peel-and-stick materials work well on the inside of cabinet backs or on door fronts.
- They’re removable and let you try patterns or textures that would be intimidating with paint.
- Pros: quick, low-risk, creative. Cons: less durable than paint, can peel in high-heat or high-moisture areas.
Update with Accent Lighting (Under‑Cabinet LED)
Lighting isn’t just cosmetic—it improves function and highlights your updates.
- Under-cabinet LED strips make countertops pop and showcase refreshed cabinet fronts.
- They also add a modern touch and improve workspace visibility.
Moderate Refreshes with Bigger Impact (Still No Gutting)
If you’re willing to invest a bit more time and effort, you can take your refresh to the next level without a full remodel.
Cabinet Refacing vs Painting (What’s the Difference)
- Refacing replaces cabinet doors or applies veneers, while painting only changes color.
- Pros of refacing: brand-new look, hides imperfections, durable finish.
- Cons: higher cost than paint and may require professional help.
For cost comparisons and more details on refacing, Martha Stewart’s guide is also a reliable reference.
Adding Trim, Molding & Crown Detail
- Adding trim or crown molding adds architectural depth and polish.
- It makes basic cabinets feel custom and high-end with minimal demolition.
Swap Door Fronts or Add Glass Inserts
- Replacing just the cabinet doors or adding glass panels can completely change the vibe.
- It’s a stylish way to introduce display space or modern transparency without touching the cabinet boxes.
Refreshing Without Painting
Not everyone wants to paint, and that’s okay. There are creative ways to make cabinets feel fresh while keeping the natural wood or existing finish.
Rejuvenate Wood with Oils, Waxes, or Stains
- Perfect for wood-grain lovers who want a natural, preserved look.
- Adds luster, protects the wood, and highlights texture.
Reconfigure Surrounding Elements Instead of Cabinets
- Sometimes changing the backsplash, countertops, lighting, or décor can make cabinets feel brand-new.
- This “visual refresh” trick works well if your cabinets are still solid but need a style lift. You can also explore smart storage solutions to reorganize and declutter your cabinets with our 6 genius kitchen organizers to conquer cluttered cabinets for a practical refresh without painting.
Common Mistakes to Avoid (And How to Save Time/Money)
Even with the best intentions, it’s easy to make mistakes that slow you down or eat into your budget. From my experience, these are the most common pitfalls:
- Skipping prep before paint: I can’t stress this enough—clean, sanded, and primed surfaces make the difference between a finish that lasts and one that chips after a few months.
- Choosing trendy over timeless colors: Sure, neon green cabinets are fun on Instagram, but will you still love them in five years? I always recommend colors that work with your overall kitchen palette.
- Ignoring lighting and knock-on effects: A fresh cabinet color can look amazing under natural light but harsh under your current kitchen lighting. Always test a small patch first.
Avoiding these missteps saves frustration, keeps your budget intact, and ensures your kitchen feels refreshed—not rushed.
How to Choose the Right Refresh Approach for Your Kitchen
Picking the right refresh strategy comes down to your time, budget, and comfort level. Here’s how I usually help people think about it:
- Quick weekend updates: Swapping hardware, adding peel-and-stick details, or installing under-cabinet lighting. Fast, low cost, high impact.
- Weekend warrior projects: Painting cabinets or adding trim/crown molding. Takes more effort, but you can handle it yourself if you plan carefully.
- Upgrades needing professional help: Refacing cabinets, adding glass inserts, or any structural changes. Worth hiring a pro if you want a flawless finish without risking mistakes.
Thinking through your priorities first keeps the project manageable and ensures your kitchen looks built-like-new, without unnecessary stress.
Tools, Materials & Where to Save
Before you start, I like to make a quick checklist so nothing slows me down:
- Painter’s tape vs sanding tools: Good tape saves edges; a medium-grit sander speeds up prep.
- Best primers and cabinet-grade paints: Invest here—cheap paint can ruin your whole effort.
- LED lighting kits vs professional installs: Many kits are simple to DIY, but for larger runs, a pro can save headaches.
A little planning here goes a long way in time and cost savings.
Ready to Refresh Your Kitchen?
Now it’s your turn. Which refresh approach fits your style and schedule—quick weekend fixes, a weekend warrior project, or calling in a pro?
I’d love to hear your thoughts, questions, or even before-and-after stories. Share them in the comments below or visit my site, Build Like New, to get more practical guides, tips, and inspiration for making your home feel fresh and polished again.
Disclaimer: The information in this article is for general guidance only. Results may vary depending on your kitchen’s condition, materials, and skill level. Always follow safety instructions and consider consulting a professional for major projects.

