
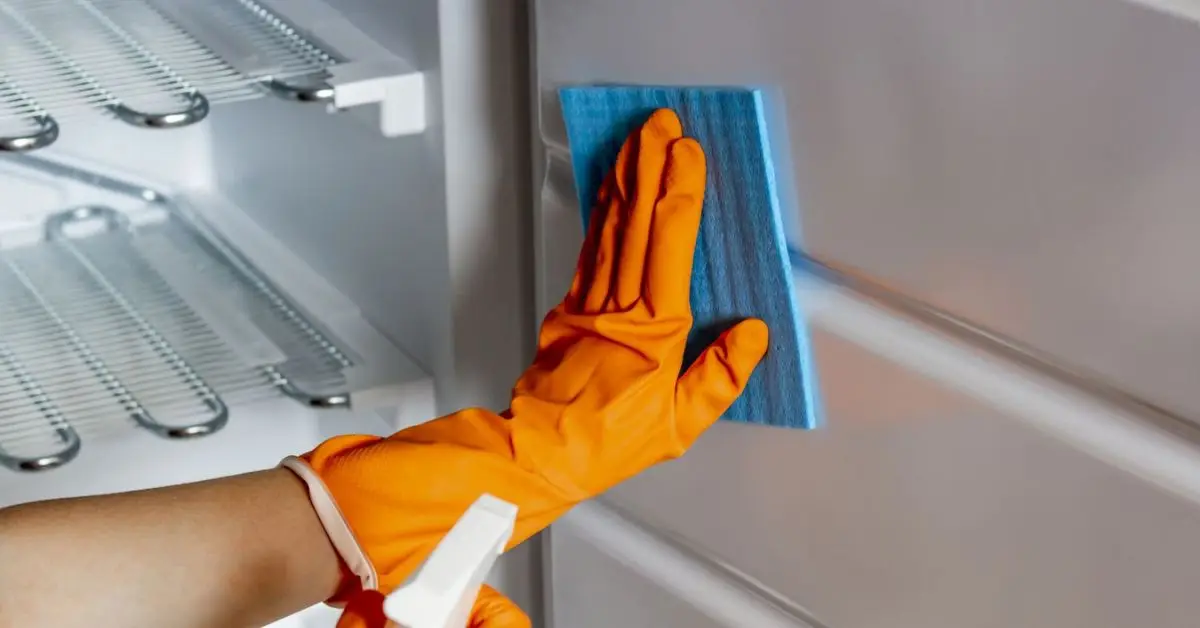
Deep Clean Your Fridge Naturally with Baking Soda (Including Stubborn Residue)
I’ve cleaned more refrigerators than I can count — and I’ll be honest, most people don’t actually deep clean theirs. They wipe a shelf, toss a box of baking soda inside, and hope the smell disappears.
It doesn’t.
If you’re here for a real baking soda fridge cleaning method that handles dried sauce streaks, sticky juice rings, and that mystery smell you can’t trace — you’re in the right place.
Most guides online give you the same basic steps: empty it, wipe it, put everything back. What they don’t explain is why baking soda works, how to use it differently for tough spots, and what to do when the smell still lingers even after cleaning.
Here’s what I’ve learned over the years: baking soda works because it doesn’t just mask odors — it neutralizes them. It’s mildly abrasive, so it lifts dried residue without scratching most interior surfaces. And unlike harsh chemical sprays, it won’t leave behind fumes around your food.
But — and this matters — you have to use it the right way.
A thin wipe won’t cut through sticky syrup. And sprinkling powder in a bowl won’t fix a spill that seeped into the shelf seams.
In this guide, I’ll walk you through exactly how I deep clean a refrigerator using baking soda — including how I deal with stubborn, glued-on messes without damaging the interior.
If your fridge smells “almost clean” but not fresh… or if you’re tired of scraping dried ketchup with your fingernail — tell me this:
When was the last time you truly emptied it out and cleaned every surface?
The Real Goal of Deep Cleaning Your Refrigerator
Let me clear something up first.
Wiping a shelf and calling it “clean” is maintenance. Deep cleaning is something else entirely.
When I talk about deep cleaning your fridge, I mean removing the stuff you’ve stopped noticing — the sticky film under condiment bottles, the dried milk ring in the corner, the grime hiding inside the door gasket.
Here’s the difference I want you to understand:
Maintenance cleaning
- Quick wipe of visible spills
- Throwing out expired food
- Replacing the baking soda box
Deep cleaning
- Removing shelves and drawers
- Scrubbing sticky, dried buildup
- Cleaning rubber seals (where mold loves to grow)
- Neutralizing odors at the source
Most people searching for the baking soda fridge cleaning method aren’t just looking for a wipe-down. They’re trying to fix:
- A lingering smell that won’t go away
- Sticky sauce spills that hardened
- Cloudy glass shelves
- Grimy door seals
- Mystery stains in the corners
And here’s something I’ve learned over the years: if you can still smell something after cleaning, the residue is still there.
Cleaning experts in The Spruce’s refrigerator cleaning guide also point out that a proper deep clean means removing shelves and drawers and focusing on hidden crevices and seals — not just visible surfaces. That’s the real difference between “looks clean” and actually clean.
So when should you deep clean?
I recommend it when:
- The odor comes back within a day or two
- You see sticky or greasy buildup
- There’s visible staining in corners
- It’s been 2–3 months since your last full clean
- A spill sat unnoticed
If you wouldn’t confidently swipe your finger across the back wall of your fridge, that’s your cue.
What You’ll Need Before You Start
I don’t like overcomplicating cleaning. But I do believe in being prepared.
When you gather everything upfront, you won’t stop halfway through because you’re missing something.
Here’s exactly what I use.
Cleaning Solution
- 2–3 tablespoons baking soda per 1 quart of warm water
- Extra baking soda to make a thick paste for sticky spots
The liquid solution handles general cleaning.
The paste is what breaks down dried syrup and sauce.
Basic Tools
- Warm water in a spray bottle
- Soft sponges (non-abrasive)
- Microfiber cloths for drying
- An old toothbrush for seams and corners
That toothbrush makes a bigger difference than most people realize. It gets into gasket folds where smells often start.
Optional Boosters (Only When Needed)
- A few drops of lemon juice for freshness
- White vinegar for greasy residue
I don’t mix vinegar directly with baking soda because once they react, they mostly cancel each other out. I use vinegar separately when I need extra grease-cutting power.
Surface Safety Tips
This part matters.
If you have stainless steel trim or specialty finishes:
- Don’t scrub aggressively
- Avoid dry baking soda directly on metal
- Always test in a small hidden area first
I’ve seen people dull their fridge finish by scrubbing too hard. Baking soda is mild — but friction still counts.
When you’re ready with this kit, the deep cleaning process becomes efficient and controlled. No rushing. No shortcuts.
Now tell me — what’s the bigger issue in your fridge right now: sticky mess or stubborn odor?
Step-By-Step Baking Soda Cleaning Method

Here’s where the real work begins — and where most guides stop being useful. I’m going to walk you through exactly how I clean a fridge with baking soda so you don’t waste time or miss hidden messes.
Prep — Empty & Organize First
Before you touch any cleaner, take everything out.
I know it sounds basic, but it matters for a deep clean:
- You uncover sticky spills hidden under bottles
- You get rid of expired or forgotten food
- You prevent cleaning solution from touching your groceries
Group the items on your counter — dairy together, condiments in one spot, leftovers in another. That makes restocking easier and cleaner.
And while many quick-clean tips tell you to wipe around stuff, this Home Depot fridge cleaning guide also stresses removing shelves and drawers first for best results. You can’t truly deep clean if you’re trying to dodge furniture.
Once the fridge is empty, unplug it or switch to energy-saving mode if you’ll be working for longer than 20–30 minutes.
Make the Baking Soda Cleaning Solution + Paste
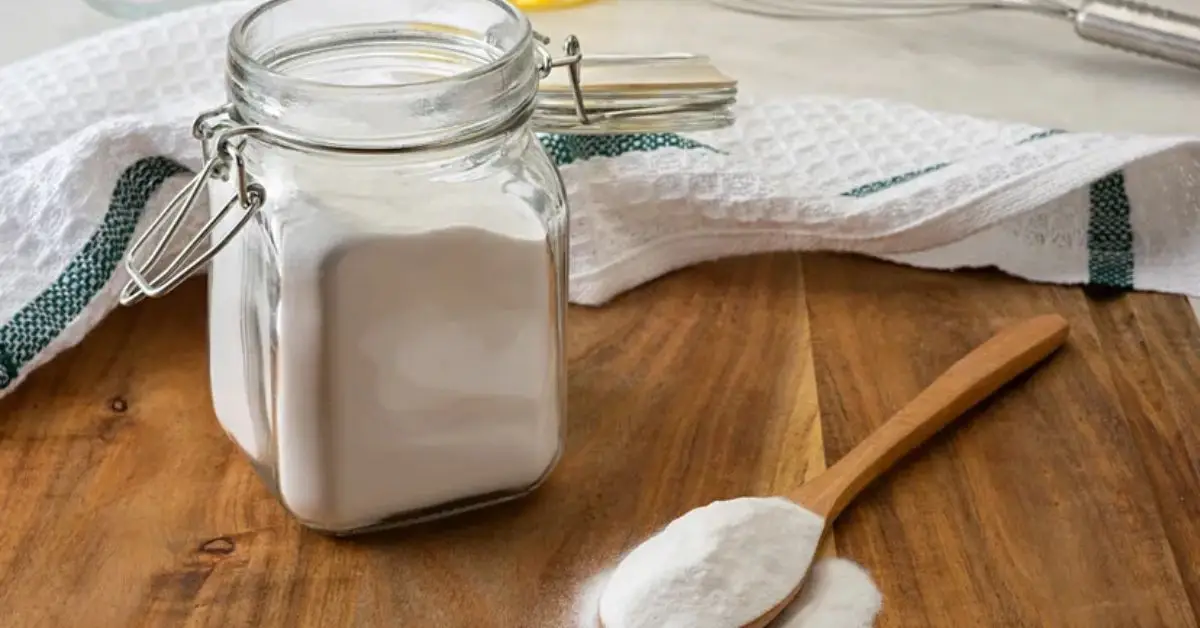
You actually need two baking soda formulas here — spray and paste.
Spray solution (for general cleaning):
- 2–3 tablespoons baking soda
- 1 quart warm water
This lifts mild dirt and neutralizes odors on most surfaces.
Thick paste (for sticky spots):
- Baking soda
- Just enough water to make a spreadable paste
Spray alone won’t cut through dried sauces. Paste lets baking soda cling and work.
The spray covers big areas fast; the paste targets trouble spots.
Apply & Scrub Sticky Spots Methodically
This is where technique matters more than effort.
When I hit a sticky spill, I don’t scrub right away. I:
- Spread a layer of baking soda paste over the spot
- Let it sit for 10–15 minutes
- Gently work at it with a soft sponge or an old toothbrush
That wait time softens stubborn residue. If you scrub too soon, you’ll just smear it around.
Use the toothbrush for:
- Track grooves
- Door gasket folds
- Drawer edges
- Shelf seams
Work in zones instead of going row by row — it keeps you focused and prevents skipped areas.
Rinse Clean — Remove All Residue
Wiping the paste or spray off isn’t enough. You need to remove all baking soda residue.
If you leave it behind, it can feel chalky and attract new dust.
Here’s how I do it:
- Use a clean damp cloth and rinse it frequently
- Go over each surface at least twice
- Pay extra attention to the bottom of shelves
If you notice stubborn water spots or mineral stains while rinsing your shelves, check out our guide on 10 easy ways to remove hard water stains from your refrigerator without harsh chemicals for extra tips.
This step is huge for food safety — residual baking soda isn’t harmful, but a leftover film can interfere with how liquids bead and run off later.
Dry and Restock Cleanly
Never restock a damp fridge.
Moisture in corners or gasket folds is a mold magnet. Always:
- Dry with a clean microfiber cloth
- Leave doors open for a few minutes to air dry
Once it’s dry and fresh, restock intentionally. Don’t just jam everything back in — place items in a way that lets air circulate. That keeps odors down longer and helps your fridge run efficiently.
Pro Tips for Tough Sticky Stains

Now let’s tackle the really stubborn spots — the ones that make you think deep cleaning is pointless.
Vinegar-Soaked Cloth for Hardened Adhesives
If a sticky mess feels glued down even after baking soda paste, try this:
- Soak a cloth in white vinegar
- Lay it over the spot for 10–15 minutes
- Then go back in with baking soda paste and scrub
Vinegar softens adhesive residue without harsh scraping.
When to Add Dish Soap
Baking soda is great for dried food and odor, but greasy messes need a bit more muscle.
For greasy patches:
- Add 1–2 drops of mild dish soap to your baking soda paste
- Scrub gently with a soft sponge
- Rinse thoroughly afterward
This combo cuts through oil without being harsh on fridge surfaces.
Built-Up Grease vs Food Residue
Here’s how I decide what method to use:
- Sticky and shiny? Usually sugar-based residue — baking soda paste alone works best.
- Cloudy and slick? Probably grease — add a touch of dish soap.
- Clean-looking but still smelly? Check hidden spots like gasket folds and drawer tracks again.
Most “impossible” stains just need the right combination of time and method — not brute force.
Okay — if you’ve reached this far, tell me: are your sticky spots more sugar-based (like soda/milk spill) or oily (grease, butter, dressing)?
Common Mistakes & How to Avoid Them
After years of cleaning kitchens, I can tell you this — most fridge problems don’t come from not cleaning. They come from cleaning the wrong way.
Let’s fix that.
1. Over-Scrubbing Sensitive Surfaces
I’ve seen people scrub a fridge door so hard they end up dulling the finish.
Baking soda is mild, yes — but aggressive scrubbing with rough pads can:
- Scratch plastic interiors
- Dull stainless trim
- Cause uneven discoloration
On cleaning forums like Reddit, many homeowners mention noticing faded or cloudy spots after using abrasive sponges. The fix?
- Switch to a soft microfiber cloth
- Lightly buff with warm water only
- Never use dry baking soda directly on metal
If you’re scrubbing harder than necessary, the method isn’t the problem — the approach is.
2. Not Drying Properly (Why the Smell Returns)
This one is more common than you think.
You deep clean, close the fridge, and two days later… the smell creeps back.
Why?
Moisture.
If gasket folds, drawer rails, or corners stay damp, bacteria and mold can start forming again. On Reddit cleaning threads, people often admit they skipped full drying — and the odor returned quickly.
After cleaning, always:
- Wipe every surface dry
- Leave the fridge open for 10–15 minutes
- Pay extra attention to rubber seals
If it smells again, don’t assume baking soda failed. Check for trapped moisture.
3. When Baking Soda Isn’t Enough
Sometimes the issue isn’t surface grime.
If odor persists after a proper deep clean, the source could be:
- A clogged or dirty drain pan
- Spills underneath bottom drawers
- Mold in gasket folds
- Food debris under removable panels
At that point, wiping walls won’t fix it.
You may need to remove lower panels (if safe) or inspect the rear drip pan area. Persistent odor almost always has a physical source.
Odor Fixes Beyond Cleaning
Deep cleaning removes the cause. Now we prevent it from coming back.
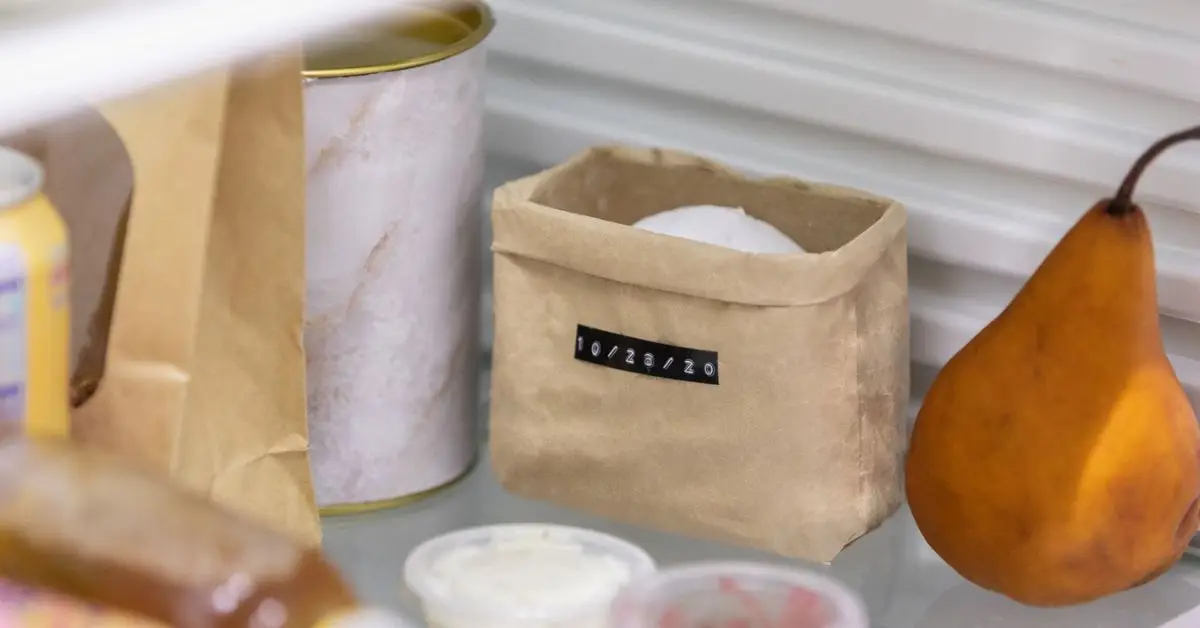
Keep an Open Box of Baking Soda Inside
I always recommend placing an open box of baking soda on a shelf after cleaning.
It passively absorbs odors between deep cleans.
According to Chef’s Resource’s refrigerator maintenance advice, you should replace the box every 30 days for consistent odor control.
Set a reminder. Most people forget.
Try Alternative Odor Absorbers
If your fridge holds strong-smelling foods regularly, baking soda alone might not be enough.
You can also use:
- Activated charcoal (strong odor absorber)
- Fresh coffee grounds in an open bowl
- Odor-absorbing fridge packs
Charcoal works especially well for heavy smells like fish or onions.
When the Smell Isn’t Inside the Fridge Compartment
If you’ve cleaned thoroughly and used absorbers but still notice odor, check:
- The drip pan underneath
- The back panel area
- The space under drawers
These areas aren’t visible daily — but they can trap liquid and cause lingering smells.
If the odor is sharp or sour and persistent, inspect deeper instead of cleaning the same shelves again.
Maintenance Routine: Keep It Clean Longer
I don’t deep clean my fridge every week. But I do maintain it weekly.
Here’s what I suggest you do.
Weekly Quick Wipe
Once a week:
- Wipe visible spills immediately
- Check for leaking containers
- Toss expired items
It takes five minutes and prevents sticky buildup. While weekly wipes keep the interior clean, don’t forget the back coils — cleaning them regularly not only keeps your fridge efficient but can also help cut your power bill. Learn how in our step-by-step guide on cleaning your refrigerator coils.
Spot-Clean Immediately
If something spills, don’t wait.
The longer sugar or dairy sits, the harder it bonds to the surface.
Fresh spills wipe off in seconds. Dried spills turn into scraping sessions.
Organize to Reduce Mess
Mess often comes from clutter.
Try this:
- Keep sauces in a tray
- Store leftovers in sealed containers
- Avoid overpacking shelves
Better airflow reduces odor and prevents leaks from spreading. After restocking, consider smart organization — even the space above your fridge can be used efficiently. Check out 8 genius ways to use the space above your refrigerator to maximize storage and reduce clutter.
Simple organization saves you from future deep cleaning frustration.
Surface-Specific Care Notes
Not every part of your fridge should be treated the same.
Let’s break it down.
Stainless Steel (Exterior)
Do:
- Use a microfiber cloth
- Wipe in the direction of the grain
- Use mild cleaner or warm water
Don’t:
- Use abrasive pads
- Apply dry baking soda directly
- Scrub aggressively
Scratches on stainless are permanent. Gentle pressure always wins.
Rubber Seals (Gaskets)
Do:
- Use a toothbrush for folds
- Dry thoroughly after cleaning
Don’t:
- Leave moisture trapped
- Ignore small black spots (clean them early)
Seals are where odor often begins.
Glass Shelves
Do:
- Let them reach room temperature before washing
- Use warm (not hot) water
Don’t:
- Shock cold glass with hot water
- Drop them back in while wet
Glass shelves can crack if temperature changes too quickly.
Closing Summary
Let’s wrap this up. If you follow the steps above, your fridge will be fresh, clean, and odor-free — not just “looks clean.” Here’s a quick checklist to remember:
- Empty & organize first — remove all food and shelves.
- Prepare your baking soda solutions — spray for general cleaning, paste for sticky spots.
- Scrub methodically — let the paste sit 10–15 minutes and use a toothbrush for corners and gaskets.
- Rinse thoroughly — no residue left behind.
- Dry completely — prevent moisture and mold growth.
- Handle tough stains smartly — use vinegar-soaked cloths or a little dish soap when needed.
- Maintain weekly — quick wipes, spot clean spills, and keep your fridge organized.
- Use odor absorbers — baking soda, charcoal, or coffee grounds to prevent lingering smells.
- Follow surface-specific care — stainless steel, glass, and gaskets each need special attention.
By following these steps, your fridge won’t just look clean — it will feel and smell fresh, making your kitchen a more pleasant space.
I’d love to hear from you: what’s the biggest challenge you face when cleaning your fridge? Share your experience in the comments below.
And if you want more practical, expert home maintenance tips, visit us at Build Like New — your guide to keeping every part of your home running smoothly.
Disclaimer: This guide is for general home cleaning purposes only. Always test cleaning solutions on a small area first, follow appliance manufacturer instructions, and use caution to avoid damage or injury.

