
Stop Ignoring This Part of Your Toilet—Deep Clean in Minutes
I never realized how much dirt could hide behind my toilet—until I actually looked. You know that narrow, dark space between the wall and the base of your toilet? Most of us ignore it completely, and honestly, it’s a breeding ground for germs and grime that even a quick swipe with a disinfectant can’t reach. I’ve tried all sorts of “quick clean” hacks, but seeing the buildup up close made me rethink everything about bathroom cleaning.
If you’ve ever wondered why your bathroom still feels a little off no matter how often you scrub, it’s probably this hidden spot. Today, I’m going to show you exactly why this area gets so dirty, what tools really work, and how to clean it efficiently without straining your back. By the end, you’ll not only understand the problem but have a practical step-by-step plan to tackle it once and for all.
Have you checked behind your toilet lately, or are you about to? Let’s find out what’s really hiding back there.
Why the Space Behind Your Toilet Becomes a Germ and Grime Trap
I have to admit, I never really thought about the area behind my toilet until I noticed a faint smell that wouldn’t go away. That narrow gap between the wall and the toilet base is basically a perfect storm for grime. Here’s why:
- Moisture buildup: Every flush leaves tiny droplets that land behind the toilet. Over time, this dampness encourages mold and bacteria.
- Dust and hair accumulation: This spot rarely gets touched, so dust, hair, and skin flakes settle and stick.
- Splash patterns: Even a “clean” flush sends bacteria-laden water onto the back and sides of the toilet.
- Lack of visibility: Since you rarely see it, you rarely clean it, which just compounds the problem.
Cleaning experts emphasize that these hidden areas are just as important as the toilet bowl itself. According to guidance from Martha Stewart, ignoring this zone lets bacteria and odor accumulate over time, making your bathroom less hygienic than you realize.
What People Usually Miss When They “Clean” the Toilet
If you think a quick scrub inside the bowl is enough, I’ve got news for you—you’re probably missing the spots that actually harbor the worst dirt. Based on what I’ve seen and what other users report on cleaning communities like Reddit, here’s what usually gets skipped:
- Behind the tank and bowl: This tight space collects dust, grime, and even hair that slips past your cleaning cloth.
- Base bolts and crevices: Those tiny bolts that secure the toilet? Dirt and rust love to hide here, and regular cleaning rarely reaches them.
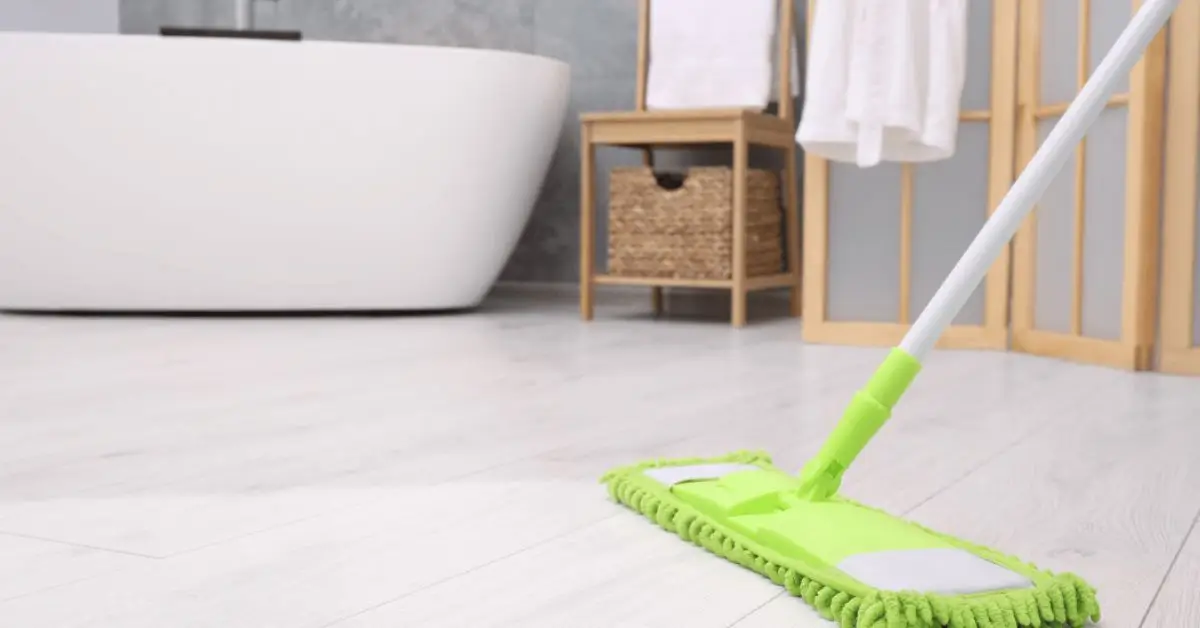
- Floor and baseboard gaps: The floor behind the toilet often traps spilled water, dust, and hair. Even sweeping around the bathroom doesn’t touch these corners.
When I first tried cleaning these areas, I realized the interior of the bowl isn’t the real problem—it’s the hidden corners most guides overlook. Once you tackle these spots, the whole bathroom feels fresher, and the odor finally disappears.
Best Tools and Supplies for Hard‑to‑Reach Cleaning
When I first tried cleaning behind my toilet, I realized the right tools make all the difference. Without them, you end up straining your back and still missing spots. Here’s what I rely on now:
- Long‑handled tools: Dusting wands and microfiber extensions let you reach behind the toilet without bending awkwardly. They grab dust and hair that settle in hard-to-see corners.
- Small brushes: A toothbrush, grout brush, or small scrubbing brush works perfectly for base bolts, crevices, and narrow gaps.
- Vacuum crevice tool: Before you even spray cleaner, I like to vacuum out dust and debris. It saves time and prevents smearing dirt around.
Experts recommend microfiber tools and flexible wands for tackling behind-base grime. For a detailed guide on the best cleaning tools for hard-to-reach spots, I found e-cloth’s blog super helpful—it’s where I learned about combining these tools for maximum efficiency.
Honestly, once you get the right tools, the process becomes way less intimidating—and much faster.
Step‑by‑Step Guide to Cleaning Behind the Toilet (No Back Pain Required)
Cleaning behind the toilet doesn’t have to be a nightmare. I break it down into simple steps that even a busy person can manage:
- Step 1: Clear the area: Move rugs, trash bins, and anything that might get in your way. I always like a clear floor so I can maneuver without smudging clean surfaces.
- Step 2: Dry debris first (vacuum): Before touching any cleaner, I vacuum hair, dust, and loose dirt. It prevents spreading mess around and makes the next steps easier.
- Step 3: Spray & let cleanser work: I spray a disinfectant or multi-surface cleaner behind the toilet and let it sit for a few minutes. If you want to make your bowl sparkle while tackling the hidden grime behind the toilet, I also follow this step-by-step guide on how to clean a toilet bowl with vinegar in 5 simple steps. It softens buildup and tackles bacteria where a cloth alone can’t.
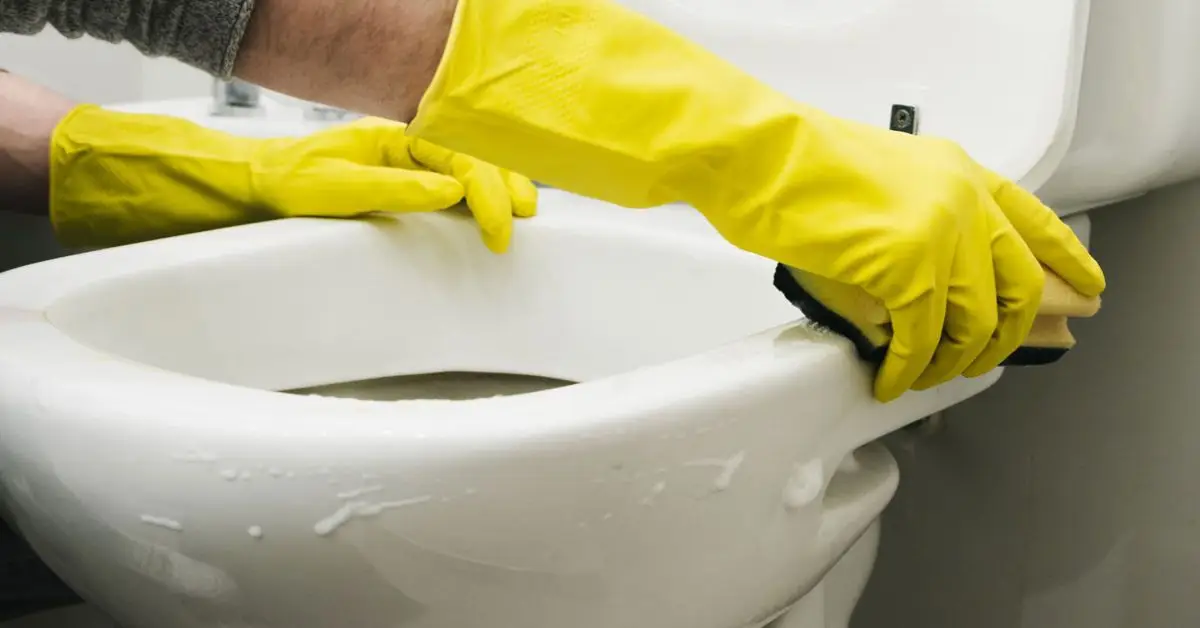
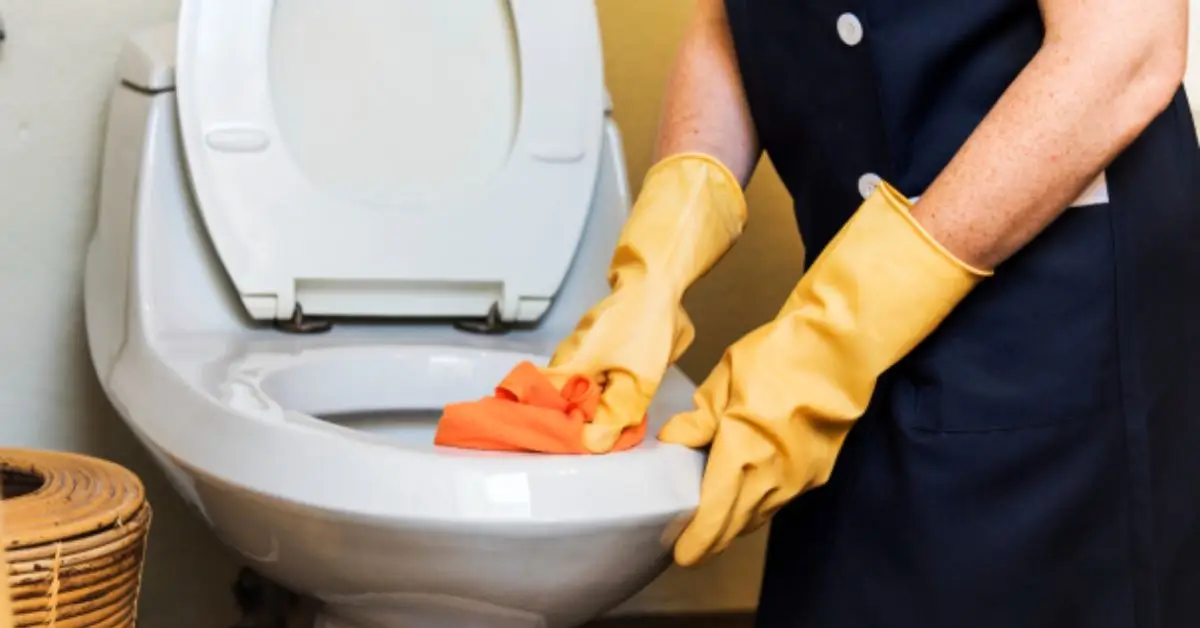
- Step 4: Detailed scrub and wipe: Now the small brushes come into play. I scrub bolts, crevices, and floor edges, then wipe everything with a microfiber cloth. This is where all the hidden grime comes off.
- Step 5: Final check & dry: I always check the spot from different angles. If it’s still damp, I dry it with a clean cloth—moisture left behind can lead to mold or odor.
Following these steps has changed how I feel about cleaning. It’s efficient, thorough, and my bathroom finally smells fresh.
Pro Tips to Clean Faster and Avoid Future Buildup
After cleaning behind the toilet a few times, I realized there are ways to make it faster and prevent grime from coming back. Here are the tips I swear by:
- Use flexible tools that actually reach: I always grab a microfiber wand or a long-handled dusting tool. It lets me get into corners and behind the tank without awkward bending.
- Let cleanser sit before scrubbing: I spray a disinfectant and walk away for a few minutes. Giving it time to work softens the grime so my scrubbing does less effort but gets better results.
- Clean weekly instead of waiting for grime: Doing a quick weekly touch-up behind the toilet prevents that thick buildup that feels impossible to tackle. Trust me, it’s way easier than waiting months.
- Preventive measures: Ventilation helps reduce moisture, and wiping the area after every flush (or weekly for high-use bathrooms) keeps bacteria from accumulating. After cleaning, I like to keep the area fresh without harsh chemicals, and these 10 natural hacks to keep your toilet water smelling fresh work really well between deep cleans.
These hacks aren’t fancy—they’re the little insider shortcuts I picked up from cleaning professionals, and they save a ton of time while keeping the bathroom genuinely cleaner.
Natural Cleaners vs Chemicals — What Should You Use Behind the Toilet?
I’ve tried every type of cleaner, and here’s what I’ve learned about what works behind the toilet:
- Vinegar & baking soda approach: If you prefer natural solutions, this combo works surprisingly well on mineral deposits and mild grime. It’s eco-friendly and safe for most surfaces.
- Commercial disinfectants: pros and cons: Stronger chemical cleaners tackle stubborn bacteria, but you need proper ventilation and gloves. I usually use them for heavy buildup or when I skip a week.
- Safety and ventilation tips: Whatever cleaner you choose, open a window or run a fan. I never mix products, and I always wear gloves to avoid irritation.
Common Mistakes People Make (and How to Avoid Them)
Let me be honest: I’ve seen so many people think they’re cleaning correctly, but they’re actually doing the exact things that make the job harder, messier, or even unsafe. If you want your bathroom truly clean — not just superficially — you’ve got to avoid these common errors:
- Trusting every social media cleaning hack you see: I know TikTok hacks look fun and easy, but some can backfire. A popular trend where users pour all-purpose cleaner into the toilet tank is actually harmful to your toilet’s seals and parts and can even cost you money in repairs later on, according to cleaning professionals warning about this trend. Experts say only use products designed for toilets. Check out this expert warning about dangerous TikTok cleaning hacks — it made me rethink some of the shortcuts I used to try.
- Mixing cleaners without reading labels: You might think throwing together stuff from under the sink will boost cleaning power, but it can produce toxic fumes or damage surfaces. I always check labels — it keeps the job safe and less stressful.
- Skipping the behind-the-toilet spots entirely: So many people clean the bowl and seat but ignore the back and base bolts. I used to do that too — until I realized the smell and grime kept coming back because I never tackled those neglected areas.
- Waiting too long between cleanings: If you wait until it looks “gross,” you’re making your job harder. A little weekly maintenance behind the scenes prevents the thick crust that takes forever to remove.
Recognizing these mistakes has been a game-changer for me. Once I stopped following random social media tricks and focused on what actually works, cleaning became faster, safer, and the bathroom stayed fresher longer.
Cleaning Mistakes That Make Things Worse (and How to Avoid Them)
Even with the best intentions, it’s easy to make cleaning mistakes that actually make your bathroom dirtier or risk damaging surfaces. Here’s what I see most often:
- Overusing harsh chemicals on floor surfaces: Strong cleaners can eat away at grout or finish, leaving surfaces more prone to dirt sticking next time. I learned to use the right strength for each spot.
- Forgetting to dry spots: Moisture left behind encourages mold and bacteria. I always finish with a dry cloth or microfiber towel to prevent lingering odors.
- Using the wrong tools: A cloth or brush that’s too stiff can just smear grime instead of removing it. Reddit cleaning communities often emphasize using small brushes or flexible tools for hidden corners.
These nuances are what separate a quick “clean” from a truly hygienic bathroom. Once I started paying attention to these small details, my cleaning became faster, safer, and much more effective.
When You Should Hire a Pro to Clean Hard‑to‑Reach Areas
Sometimes DIY isn’t enough, and calling a professional is the smartest move:
- Severe buildup: If grime has been ignored for months, it might require specialized tools or chemical treatment only a professional can handle safely. Sometimes, debris buildup behind the toilet can contribute to slow drainage, and I’ve found this guide on 5 plumber-approved ways to unclog a toilet without a plunger really handy when problems extend beyond surface grime.
- Mobility issues: If reaching behind the toilet is physically difficult, a pro can save you strain or injury.
- Commercial settings: High-traffic bathrooms or public facilities need professional attention to maintain hygiene standards.
Knowing when to delegate ensures your bathroom stays safe and clean without unnecessary frustration.
Wrapping It Up
Cleaning behind the toilet isn’t glamorous, but it’s one of the most impactful things you can do to keep your bathroom fresh and hygienic. From the hidden grime to the right tools and cleaning hacks, you now have a step-by-step plan to tackle it effectively.
I’d love to hear from you: Have you ever checked behind your toilet, and what did you find? Share your experiences or your own tips in the comments — it helps other readers and keeps the conversation practical.
And if you want more tips and guides to make your home feel like new, visit Build Like New for expert cleaning hacks, maintenance advice, and DIY solutions that actually work.
Disclaimer: This article is for informational purposes only. Always follow product instructions and safety guidelines when cleaning. Results may vary, and if you have health concerns or severe buildup, consider consulting a professional.

