
10 Quick Steps to Clean Your Washer’s Lint Filter Like a Pro
You probably don’t think about your washing machine’s lint trap — until your clothes start coming out covered in fuzz, smelling musty, or sitting in a pool of water that won’t drain.
I’ve seen this happen more times than I can count. Most people assume the machine is “getting old” or that they need to call a technician. In reality, it’s often just a clogged lint trap that hasn’t been cleaned in months.
That small filter has one job: catch fibers, hair, and debris before they clog the drain pump. When it fills up, your washer struggles. Cycles take longer. Water doesn’t drain properly. And your freshly washed clothes don’t feel very fresh.
Here’s what many guides don’t clearly say — ignoring the lint trap can strain the pump and reduce your machine’s lifespan. Manufacturers like Samsung and Whirlpool regularly recommend checking and cleaning filters as part of routine maintenance, not emergency repair.
The good news? You don’t need tools, special skills, or a service appointment. In most cases, this is a simple 10-minute fix you can do yourself.
If your washer has been acting up — or you just want to prevent future problems — let me walk you through exactly how to clean your washing machine’s lint trap the right way.
Before we start, tell me: when was the last time you checked yours?
What Is a Washing Machine Lint Trap (And Where to Find It)
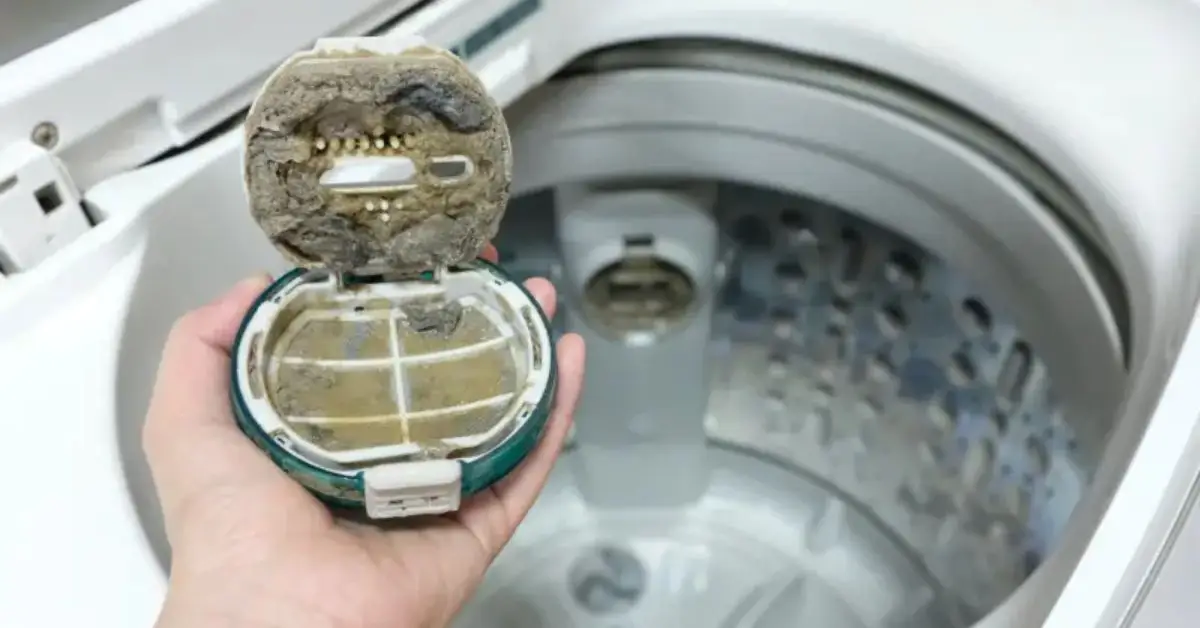
Let me clear this up first — a lint trap is not the same thing as the drain pump filter, and that confusion is exactly why so many people clean the wrong part.
Your lint trap is designed to catch fibers, hair, and small debris that come off your clothes during the wash cycle. If it’s removable, it usually looks like a small mesh screen, plastic casing, or a rectangular filter unit.
The drain pump filter, on the other hand, protects the pump from coins, buttons, and heavy debris. It’s often located behind a small panel near the bottom front of the washer. Many people assume that cleaning this once means the job is done — it’s not.
From what I’ve seen, here’s how locations typically differ:
If you have a top-load washer:
- The lint filter is often inside the drum, attached to the side wall
- Sometimes it sits under the agitator
- In older models, it may be built into the central column
If you have a front-load washer:
- Some models have no visible lint trap inside the drum
- The filter is commonly located behind a small access panel at the bottom front
- High-efficiency machines may combine lint capture within the drain filter system
Manufacturers explain this clearly in their maintenance guides, including the official instructions from Samsung Support.
What does it actually look like?
Usually:
- A small plastic frame with mesh
- A rectangular or cylindrical screen
- Something you can slide out or twist open
If I were designing an infographic here, I’d show:
- A side-by-side diagram of a top-load vs front-load washer
- Arrows pointing to the lint trap location
- A zoomed-in view of what the mesh screen looks like
Once you know where it is, the rest becomes easy.
Signs Your Lint Trap Needs Immediate Cleaning
Before you grab tools, your machine is already giving you warning signs. You just need to notice them.
When I troubleshoot washers, these are the first red flags I look for:
- Clothes coming out with visible lint or fuzz
- Hair stuck to darker fabrics
- Water draining slowly at the end of a cycle
- A small pool of water left inside the drum
- A musty or damp smell even after washing
- Cycles taking longer than usual
- Unusual humming or straining sounds during drain
A clogged lint trap restricts water flow. When water can’t move properly, your washer works harder. Over time, that strain can affect performance and even shorten the machine’s life.
Slow drainage and standing water are especially common signs — and financial service platforms like Bajaj Finserv have also highlighted how clogged filters directly impact drainage efficiency in washing machines.
If you’re noticing even two of these symptoms, I’d recommend checking the lint trap before assuming something bigger is wrong.
Let me ask you — have you seen any of these signs in your washer lately?
Tools & Supplies You Need (Prep Checklist)
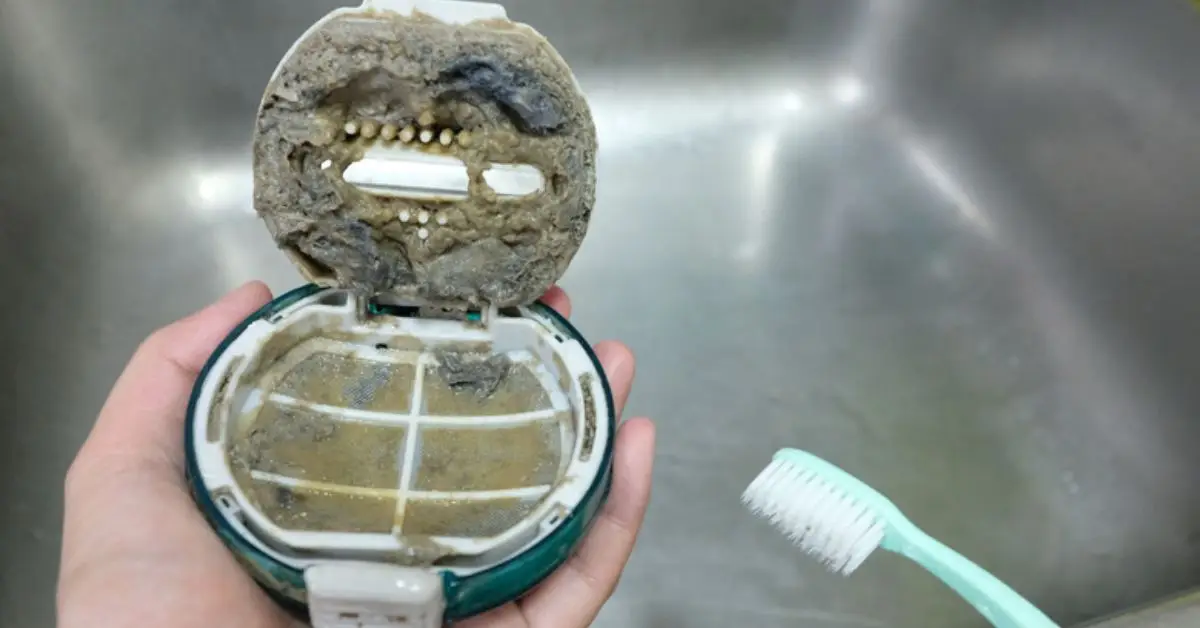
Before you open anything, I always tell people to pause and gather everything first.
Nothing is more frustrating than removing the filter… and then realizing water is dripping onto the floor and you don’t have a towel nearby.
You don’t need special tools. Just simple household basics:
- Soft brush or an old toothbrush
- Mild dish soap
- White vinegar (optional for deeper cleaning)
- A small bowl or bucket
- Vacuum with hose attachment (optional, but helpful)
- Old towels or rags to catch water
Before using strong cleaners, make sure you’re not falling for common mistakes — I’ve explained them in 6 popular cleaning myths that are actually hurting your home.
Most practical cleaning guides recommend sticking to gentle cleaners instead of harsh chemicals — even home maintenance resources like HomeGearGeek suggest basic soap and water for routine lint filter care.
Once everything is within reach, the job becomes quick and stress-free.
Steps (1–10): Clean Your Washing Machine Lint Trap (Easy DIY)
Now let’s get into the part that actually fixes the problem.
I’ll walk you through this exactly the way I guide homeowners during a service visit.
Step 1: Unplug and Prepare Your Work Area
Before touching anything, unplug the washer.
If your lint trap connects to the drain system, a small amount of water may spill out. Lay towels around the base or under the access panel.
It takes less than a minute and saves you a bigger mess later.
Step 2: Locate the Lint Trap (Model-Specific)
This is where people usually get stuck.
If you have a top-load washer, check:
- Along the drum wall
- Around the agitator
- Inside a small removable plastic housing
If you have a front-load washer, look:
- Behind the small bottom front panel
- For a round twist-style filter cap
If you’re unsure, your model manual will show the exact location.
Finding it is half the battle.
Step 3: Remove the Lint Trap or Filter
Carefully slide it out or twist it open slowly.
If it’s behind the lower front panel, turn the cap gradually. Water may drain out — that’s completely normal.
Don’t force anything. Slow and steady prevents damage.
Step 4: Manually Remove Loose Lint
Now you’ll likely see thick lint buildup.
Use your fingers to remove:
- Fabric fibers
- Hair
- Small debris
Even this quick step alone can improve drainage immediately.
Step 5: Soak and Scrub the Trap (Soap + Warm Water)
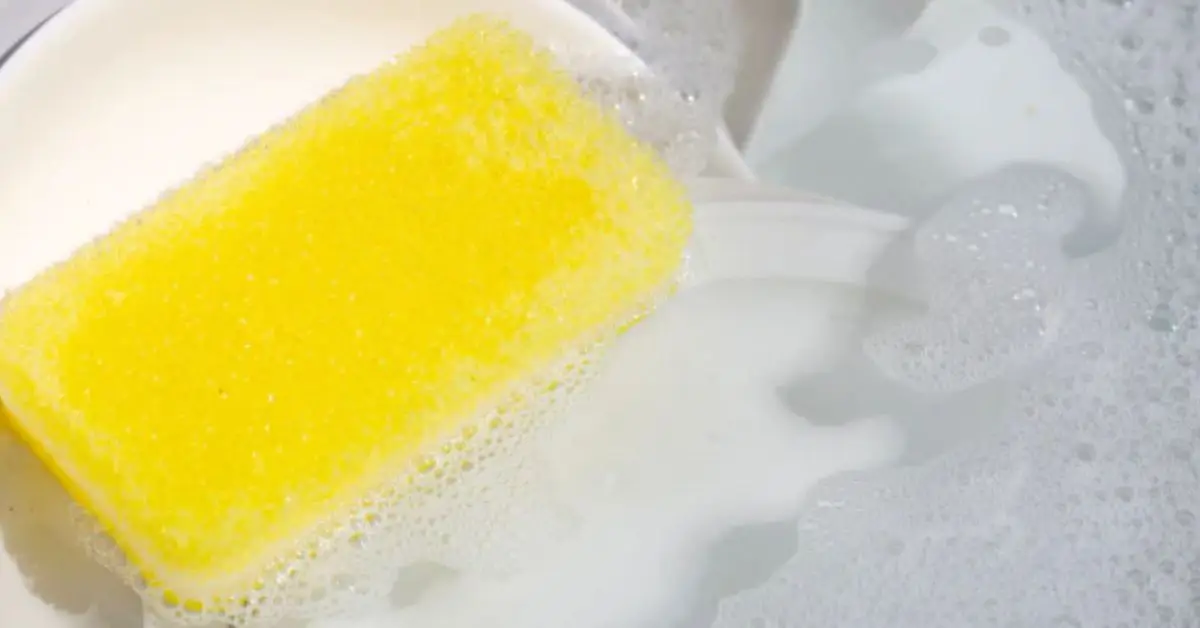
Fill a bowl with warm water and add a few drops of dish soap.
Let the filter soak for 10–15 minutes. Then gently scrub with your brush to remove detergent residue and grime.
Rinse thoroughly under running water until the mesh looks clean and clear.
Step 6: Optional Deep Clean (Vinegar or Baking Soda)
If there’s a strong odor or stubborn buildup, soak the filter in:
- Equal parts warm water and white vinegar
or - A baking soda paste for scrubbing
This helps break down mineral deposits and neutralize trapped smells.
Use this step only if necessary. Routine soap cleaning is usually enough.
Step 7: Clean the Filter Housing & Cavity
This is the step most people skip.
Look inside the cavity where the filter was sitting. You may find hidden lint or debris stuck inside.
Use:
- A cloth to wipe it down
- A vacuum hose to pull out deeper buildup
Clearing this area helps restore proper water flow.
Step 8: Reinstall the Lint Trap Correctly
Make sure the filter is fully dry.
Slide or twist it back into place until it sits flush and secure.
If it feels loose or crooked, remove it and reseat it properly.
A poorly installed filter can cause leaks.
Step 9: Test With a Short Rinse Cycle
Plug the machine back in.
Run a short rinse cycle without clothes.
Watch for:
- Proper drainage
- No leaking
- Normal sound levels
This confirms everything is working correctly.
Step 10: Post-Clean Checklist (Final Freshness Boost)
Before you walk away:
- Wipe the rubber door gasket
- Leave the washer door slightly open to air dry
- Run a hot empty cycle if odor was an issue
If the smell still lingers, you may need a full drum reset — here’s my detailed guide on how to deep clean your washing machine using only kitchen ingredients.
These small habits prevent moisture buildup and future smells.
Now I’m curious — when you removed your filter, was it mildly dirty or completely packed with lint?
Tips to Keep Lint Problems From Coming Back
Cleaning it once is good.
Not having to deal with it again next month is better.
From what I’ve seen, most lint issues return because of simple habits — not machine defects. A few small changes can save you repeat cleanups.
Here’s what I recommend:
- Clean the trap on a schedule. If you wash daily, check it monthly. If you wash once or twice a week, every 2–3 months is usually enough. Even tech-care platforms like Asurion suggest routine lint trap maintenance to prevent drainage problems before they start.
- Don’t overload the washer. When you pack the drum tightly, clothes rub harder against each other. That friction releases more fibers — which means more lint buildup.
- Separate heavy shedders. Towels, fleece, and new cotton garments release more lint. Washing them separately reduces cross-lint on other clothes.
- Run a hot maintenance cycle occasionally. An empty hot wash with a cup of white vinegar helps flush residue from inside the system.
- Leave the door open after washes. Moisture trapped inside encourages odor and residue buildup.
If you build these into your routine, you’ll rarely see a clogged filter again.
Common Lint Trap Problems and How to Fix Them (Troubleshooting)
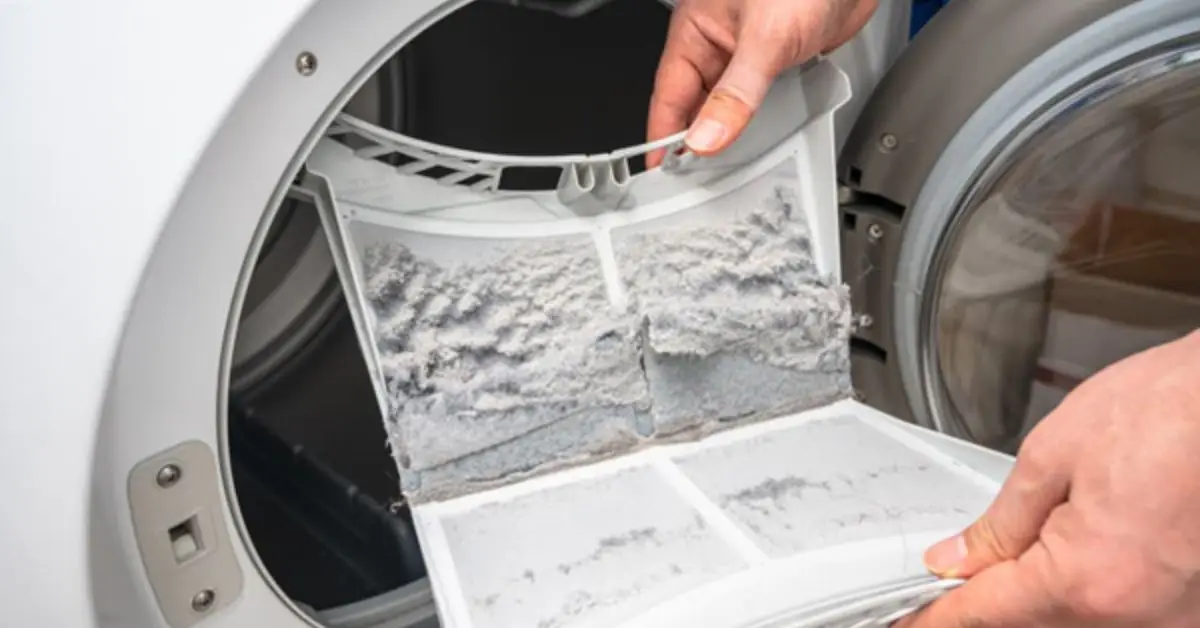
Sometimes you clean the lint trap… and your clothes still come out with lint.
That’s when people think, “Did I do something wrong?”
Not necessarily.
Here are the most common reasons I see:
- The filter isn’t seated correctly. If it’s slightly loose or misaligned, water flow won’t be optimal. Remove it and reinstall it firmly.
- Your machine doesn’t have a visible lint trap. Some high-efficiency (HE) models don’t include a traditional removable lint filter. Instead, they rely on internal drain filters or advanced water flow systems. In those cases, you’ll need to check the lower drain pump filter.
- There’s buildup deeper in the drain pump or hose. If water drains slowly even after cleaning the lint trap, debris may be stuck further inside the system.And if you’re also noticing weak water flow elsewhere in your house, it might not just be the washer — here are 12 common causes of low water pressure in US homes you should check.
- You’re washing high-shedding fabrics. Fleece, flannel, and new cotton items naturally release more fibers. That doesn’t mean your machine is malfunctioning.
If lint continues showing up despite cleaning, check the drain filter and inspect for blockages in the hose before assuming a major repair is needed.
Let me ask you — after cleaning your lint trap, are you still seeing lint on clothes, or did performance improve immediately?
A Clean Lint Trap = A Longer-Lasting Washer
Most washing machine problems don’t start with a broken motor.
They start with neglecting small maintenance tasks — like the lint trap.
When you clean it regularly, you protect your drain pump, improve washing performance, reduce odors, and extend your machine’s life. It’s a simple habit that saves money and prevents unnecessary service calls.
You don’t need a technician.
You don’t need special tools.
You just need 10 focused minutes.
Now I want to hear from you.
When you checked your lint trap, what did you find — light buildup or a full blockage? Drop your experience in the comments. It helps others learn what’s normal and what’s not.
And if you found this guide helpful, you’ll find more practical, no-nonsense home maintenance advice at Build Like New — where I break down real homeowner problems into simple, doable solutions.
Your washer works hard for you. Taking care of it is easier than you think.
Disclaimer: This guide is for general informational purposes only. Washing machine models vary, so always check your manufacturer’s manual before performing maintenance. If you notice electrical issues, major leaks, or persistent drainage problems, consult a qualified appliance technician.