
4 Easy Methods to Remove Grease From Kitchen Appliances
I don’t know about you, but nothing frustrates me more than walking into a kitchen that looks clean at first glance—but the appliances are coated with a thin, sticky layer of grease. It’s like this invisible enemy that builds up over time, hiding in oven corners, behind stovetops, and around fridge handles. Most “cleaning guides” I’ve seen either tell you to just spray and wipe or suggest harsh chemicals without explaining why some methods actually work better than others.
Over the years, I’ve tried every trick—from basic dish soap to homemade hacks I found on Reddit—and learned the hard way that grease isn’t just about appearance. It traps bacteria, smells, and can even damage your appliances if you’re not careful. In this guide, I’m going to walk you through four methods that genuinely work, including tips for different surfaces, natural alternatives, and preventive routines so you never have to fight stubborn kitchen grease the same way again.
By the end, you’ll know exactly how to tackle grease like a pro and keep your appliances looking spotless, without wasting money on products that overpromise and underdeliver.
Understand Grease & Surface Types
If you’ve ever tried wiping down a stovetop only to find a stubborn layer of film, you know that kitchen grease isn’t just “dirt.” It’s made of lipids that get activated by heat, smoke, and cooking oils. This combination makes grease stick to surfaces more than you might expect. Knowing how it bonds is key because it tells you why one method might work on your oven but fail on your fridge. Treating all surfaces the same way is a recipe for frustration.
Why Surface Material Matters (Stainless Steel, Glass, Plastic)
Here’s something I learned the hard way: the surface makes a huge difference. A method that works on your glass microwave door could leave streaks on stainless steel. For example:
- Stainless steel: Always wipe along the grain to avoid streaks. Microfiber cloths are your best friend here.
- Glass surfaces: Gentle circular motions with a soft cloth prevent scratches.
- Plastic & coated appliances: Avoid harsh abrasives that can etch the surface.
If you want a professional take on keeping your stainless appliances streak-free, I recommend checking out The Spruce’s expert guide on cleaning kitchen appliances. They explain the grain method and other pro tips that really work.
Common Mistakes Home Cleaners Make
I’ve seen plenty of people unknowingly ruin their appliances by following “quick hacks.” Some of the biggest mistakes include:
- Using bleach or steel wool on stainless steel.
- Applying ammonia-based cleaners on plastic surfaces.
- Scrubbing without considering the surface grain, causing streaks or scratches.
Genius Method 1: Dish Soap + Warm Water

I always start with this method because it works for most daily grease without harsh chemicals. A few drops of dish soap in warm water can break down oils efficiently, and it’s safe on almost every appliance. This is your go-to for quick maintenance.
How to Do It Step‑by‑Step (Pro Cleanup Method)
Here’s how I tackle it:
- Fill a bowl with warm water and a few drops of mild dish soap.
- Use a microfiber cloth or sponge and wring out excess water—too much water can seep into electronics.
- Wipe along the grain on stainless steel, or use gentle circles on glass and plastic.
- For removable parts (like stove knobs or trays), soak them in soapy water for 10–15 minutes, then scrub lightly.
This approach makes the grease come off without leaving streaks or residue, and it’s surprisingly satisfying.
When Dish Soap Alone Isn’t Enough
Sometimes, especially with baked-on grease in ovens or air fryers, dish soap isn’t enough. That’s when you move to stronger methods—like natural degreasers or commercial cleaners.
For a quick trick I love using on stubborn stovetop grease, see my step-by-step guide on how to clean a greasy stovetop fast using just a dishwasher tablet.
But the good news is, most daily buildup never gets to that stage if you maintain your appliances regularly.
Genius Method 2: Natural Degreasers That Work (Baking Soda + Alternatives)
I know how tempting it is to grab a viral hack off the internet—vinegar, baking soda, or a mix of both—but not all “homemade solutions” are practical for every surface. The key is knowing when it makes sense and when it doesn’t. For instance, vinegar works wonders on glass, but can dull certain metals over time. Understanding the right context saves you time and prevents mistakes.
If you’re looking for more ways to tackle tough kitchen grease without harsh chemicals, check out my guide on 10 amazing hacks to degrease greasy kitchen cabinets.
Baking Soda Paste — How & When to Use It
Baking soda is a classic, but you have to use it properly:
- Mix baking soda with a small amount of warm water to form a paste.
- Apply gently to greasy areas using a soft cloth or sponge.
- Leave it on for 10–15 minutes for stubborn spots, then wipe off with a damp cloth.
- Avoid using on delicate surfaces like polished aluminum, unless you test a small area first.
This method gives you the scrubbing power without harsh chemicals, and it’s perfect for stubborn spots on ovens, stovetops, and fridge shelves. If you want a professional guide on natural degreasers, I found The DailyMoss guide on natural degreasers really useful.
Other Natural Options (Lemon, Alcohol, Steam)
I like to rotate methods depending on what I’m cleaning:
- Lemon juice: Great for cutting grease and leaving a fresh scent; safe on most glass and stainless.
- Isopropyl alcohol: Fast-evaporating option for small greasy patches, especially on appliance exteriors.
- Steam: Perfect for loosening baked-on grease in ovens or microwaves; just be careful with electronics.
These alternatives give you flexibility, eco-friendly cleaning, and often a more pleasant experience than harsh chemicals.
Genius Method 3: Commercial Degreasers Done Right
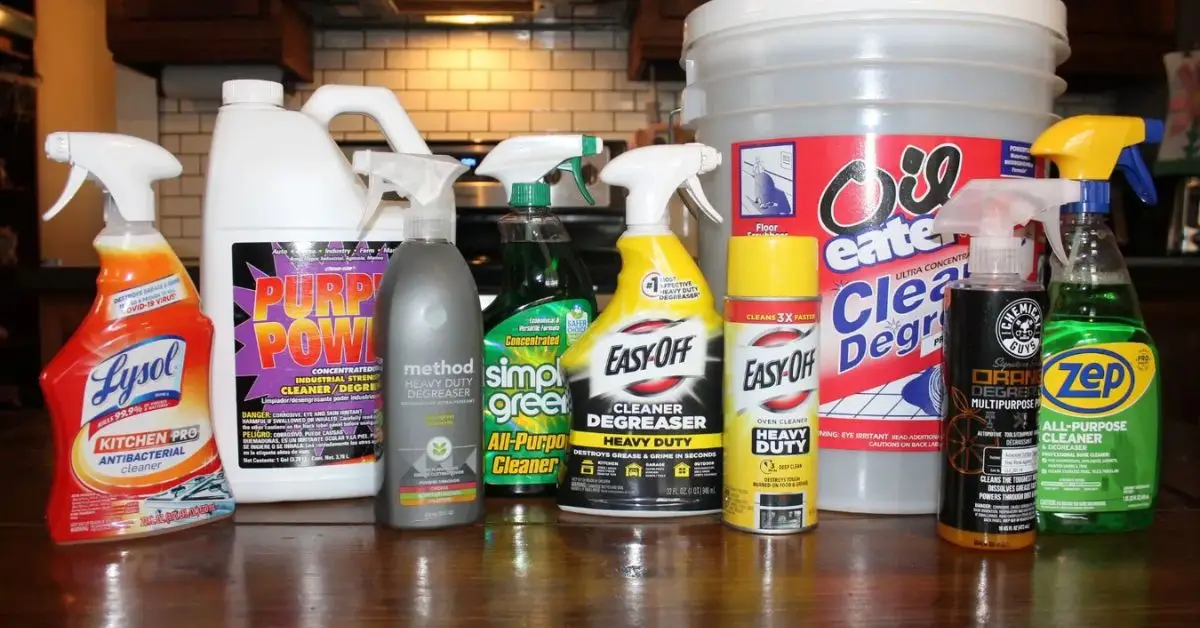
Sometimes, grease has been building up for months or years, and DIY methods just won’t cut it. That’s when I turn to commercial degreasers. They’re formulated for powerful, fast removal, and when used correctly, they save you hours of scrubbing.
Choosing the Right Product for Each Surface
Here’s what I pay attention to when picking a degreaser:
- Industrial vs plant-based: Industrial options are stronger but require gloves and ventilation. Plant-based options are gentler and eco-friendly.
- Surface compatibility: Check labels for stainless steel, glass, and plastics.
- Safety flags: Avoid products with ammonia on sensitive plastics, and never mix chemicals.
For a detailed review of the best degreasers and their recommended surfaces, I always check Kitchen Advisor News, which explains what works best without damaging your appliances.
How to Apply Like a Professional
I’ve learned a few application tricks that make commercial degreasers more effective:
- Spray on a microfiber cloth rather than directly on electronics to prevent liquid seepage.
- Let the degreaser sit (dwell) for 3–5 minutes on stubborn grease.
- Wipe along the surface grain or in smooth circular motions for even coverage.
- Rinse or wipe with a damp cloth if the product requires it.
Following these steps ensures you get maximum grease removal without damaging your appliances.
Genius Method 4: Preventive Routine for Zero Grease
I’ve learned that the best way to deal with grease is to never let it get stubborn in the first place. Professionals focus on maintenance routines that make deep cleaning much easier. Once you have a system in place, you’ll spend far less time scrubbing and more time enjoying a spotless kitchen.
Simple Daily Habits That Reduce Grease Buildup
Here are the small habits I follow every day to keep grease at bay:
- Wipe down stovetops immediately after cooking to prevent oils from hardening.
- Run your range hood fan while cooking to catch airborne grease.
- Spot-clean spills and splatters on appliances right away instead of letting them sit.
- Keep microfiber cloths and a mild cleaning spray handy for quick touch-ups.
Following these daily habits keeps grease manageable and reduces the need for harsh chemicals. Many people miss hidden grease in places you wouldn’t expect—my article on 7 overlooked spots that collect dirt faster than you think highlights these trouble areas and how to handle them.
Monthly Deep Degreasing Checklist
Even with daily maintenance, a monthly deep clean is key. Here’s my checklist:
- Remove and clean stove burners and trays.
- Wipe oven doors inside and out; check self-cleaning function.
- Deep-clean refrigerator seals and door edges.
- Pull out small appliances like air fryers or toasters and clean hidden grease areas.
- Check microwave interior and turntable for baked-on residue.
These monthly actions prevent grease from accumulating to the point where it becomes a nightmare to remove.
Appliance‑Specific Tactics
I like to tackle appliances individually because grease behaves differently depending on the surface and heat exposure. Here’s how I approach each:
Oven & Oven Door
- For regular ovens, use a baking soda paste or commercial degreaser for baked-on grease.
- Self-cleaning ovens are convenient, but I always wipe down residue after the cycle to prevent staining.
- Avoid steel wool on doors to prevent scratches.
Microwave — Inside and Out
- Steam works wonders: heat a bowl of water with lemon juice for 3–5 minutes to loosen residue.
- Wipe down interior with a soft cloth; don’t spray cleaning solutions directly inside.
- Exterior panels can be cleaned with mild soap and water.
Refrigerator & Freezer Seals
- Grease and grime often hide in the door gaskets.
- I like to remove detachable seals and wash them in warm soapy water.
- For a step-by-step guide on fridge maintenance, Realty Executives provides practical tips for keeping refrigerator and freezer seals clean.
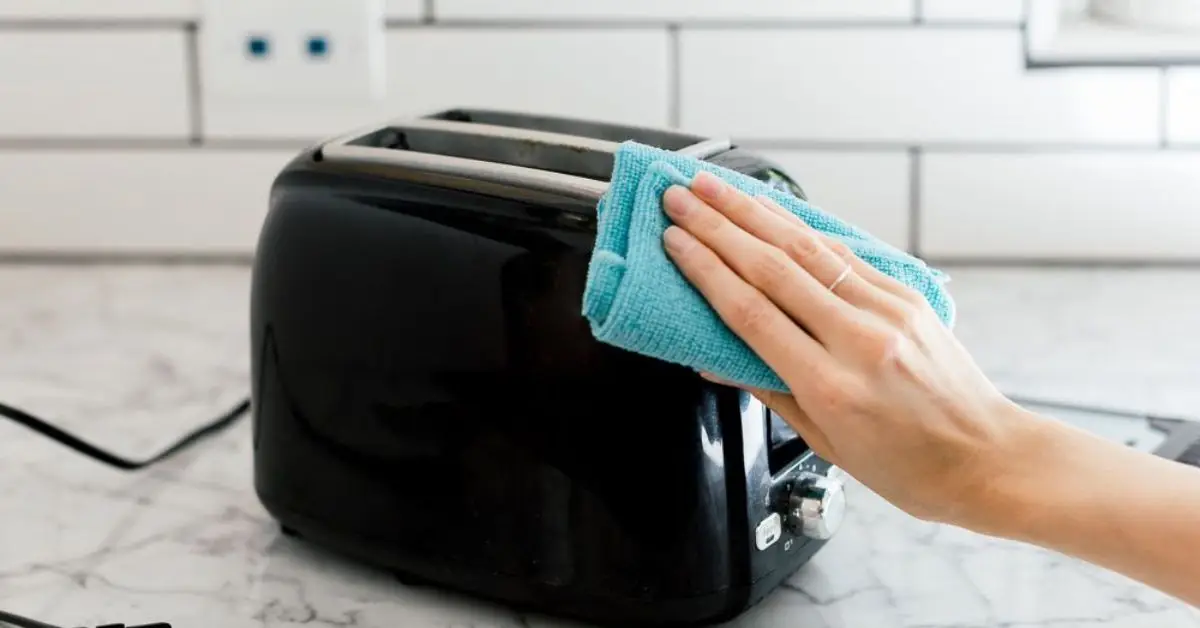
Small Appliances (Air Fryers, Toasters)
- Check removable trays and baskets; soak if necessary.
- Use specialized degreasing sprays for stubborn baked-on grease.
- Wipe down exteriors with a damp microfiber cloth to prevent buildup.
Focusing on each appliance individually ensures no hidden grease is left behind and saves time in the long run.
Safety & Materials Warnings
I can’t stress this enough: knowing what not to do is just as important as knowing how to clean. One wrong chemical or tool can scratch, dull, or even permanently damage your appliances. It’s better to be cautious than spend hours trying to fix avoidable mistakes.
Chemicals to Avoid on Certain Surfaces
Here’s what I always keep in mind:
- Aluminum and anodized surfaces: Avoid bleach or strong acidic cleaners—they can corrode the metal.
- Stainless steel: Steer clear of steel wool or abrasive powders; always follow the grain.
- Plastic panels: Ammonia-based cleaners can cause cloudiness or warping.
- Glass: Avoid sharp scrapers; use soft cloths and gentle circular motions.
Following these precautions ensures you clean safely without ruining your appliances or risking injury.
Smart Cleanup Plan You Can Use Today
Now that we’ve covered the four methods and preventive routines, here’s a quick plan I personally follow to keep my kitchen grease-free:
- Daily: Wipe stovetops, splash zones, and handles with dish soap + warm water.
- Weekly: Check small appliances, microwave interior, and fridge seals for grease.
- Monthly: Deep clean oven, burners, removable trays, and use stronger degreasers on stubborn spots.
- As needed: Rotate natural degreasers like baking soda, lemon, or alcohol for eco-friendly touch-ups.
If you stick to this schedule, you’ll never face a nightmare layer of grease again.
I’d love to hear how these tips work for you. Have a favorite trick I didn’t mention? Share it in the comments below! And if you want more expert cleaning hacks and step-by-step guides, check out my website, Build Like New, where I post practical, easy-to-follow tips for keeping your home looking fresh.
Disclaimer: The tips in this article are for general informational purposes only. Always follow appliance manufacturer guidelines and safety instructions when cleaning. Results may vary depending on appliance type, surface material, and cleaning products used.

