
6 Overlooked Kitchen Items You Should Be Replacing More Frequently
I used to think if something looked fine, it was fine.
If the sponge wasn’t falling apart… if the cutting board wasn’t split in half… if the pan still “kind of” worked… why replace it?
But here’s the truth most of us ignore: your kitchen doesn’t fail loudly. It fails quietly. Bacteria builds up where you can’t see it. Coatings break down before they fully peel. Tiny cracks hold onto moisture long after you’ve wiped everything clean.
And the worst part? A lot of popular advice online either gives you long generic lists… or tells you to throw everything out without explaining why or when.
You don’t need fear-based cleaning advice. You need clarity.
In this guide, I’m going to walk you through six everyday kitchen items that wear out faster than most people realize — and I’ll show you exactly what signs to look for so you’re not replacing things too early… or too late.
Some of these might surprise you.
Before we dive in, quick question: When was the last time you replaced your kitchen sponge — not washed it — actually replaced it?
1. Sponges & Scrubbers — Replace More Often Than You Expect
If there’s one thing in your kitchen I don’t fully trust, it’s your sponge.
It looks harmless. But it stays damp most of the day. It touches food residue. It sits in the sink where moisture never really leaves. That’s exactly why hygiene experts repeatedly flag sponges as one of the dirtiest items in the home — something even mentioned in The Spruce’s guide on things in your kitchen to replace often.
And yet most of us replace it only when it falls apart.
Why Sponges Breed Bacteria So Fast
Let’s be honest about what your sponge goes through daily:
- Scrubbing plates with leftover meat juices
- Wiping counters after spills
- Sitting wet between uses
- Rarely drying completely
A damp environment + trapped food particles = ideal breeding conditions.
Here’s the replacement rule I follow:
- Replace every 1–2 weeks
- Replace sooner if you notice:
- A sour smell
- Discoloration
- Slimy texture
- Edges breaking down
My simple test?
If it smells even slightly off after rinsing, it’s done.
Pro Tips for Smarter Replacement
You don’t need to panic — just be intentional.
- Microwave a damp sponge for 1 minute to reduce surface bacteria (temporary solution, not permanent)
- Store it upright so it dries faster
- Rotate between two sponges
But sanitizing doesn’t extend its life forever. Eventually, you need to toss it.
If you want alternatives:
- Silicone scrubbers (less porous, dry faster)
- Natural cellulose sponges (easier to replace regularly)
If you’re waiting until it’s crumbling, you’re already late.
2. Dish Towels & Washcloths — Daily Use Harbors Hidden Risks
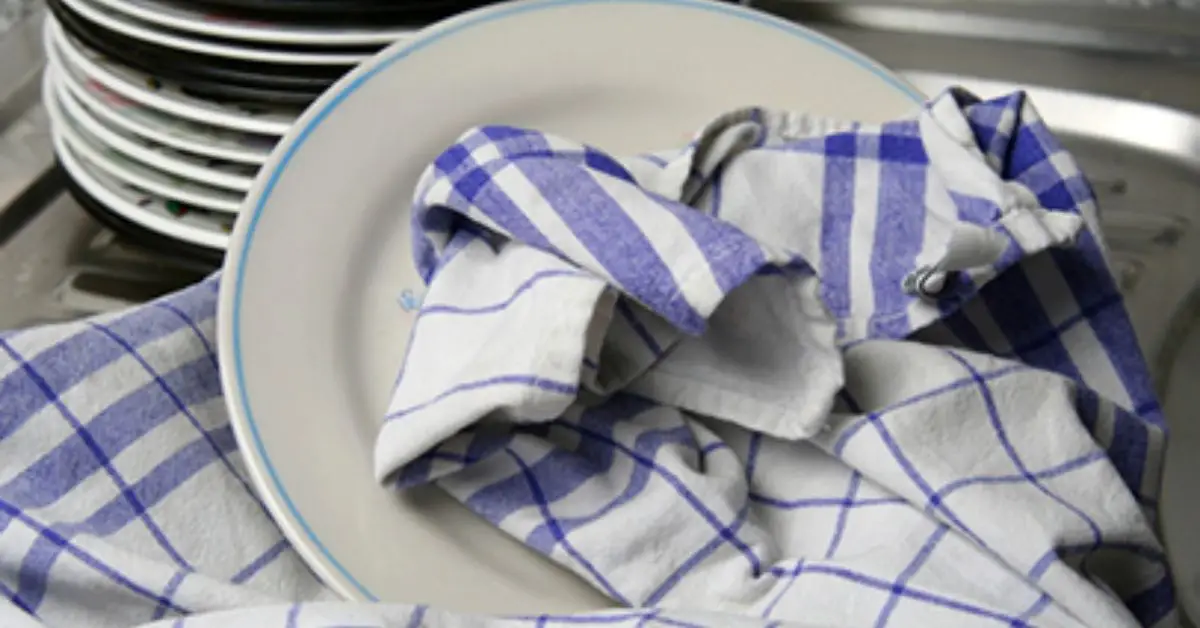
This one surprises people.
Your dish towel looks clean. It smells fine. It’s hanging neatly on the oven handle.
But think about how you actually use it.
You dry your hands. Then wipe the counter. Then grab a pot lid. Maybe dry a plate. It quietly becomes a multi-purpose cloth.
That’s where the problem starts.
If you want to see how small everyday behaviors like this can quietly affect how your home feels to others, I break it down in this guide on kitchen habits that quietly gross out your guests.
How Towels Degrade and Become Unsafe
Even if you wash them often, daily kitchen towels absorb more than you realize.
Over time:
- Absorbency drops
- Fibers trap bacteria deep inside
- Fabric holds moisture longer
- Threads weaken from repeated washing
Here’s something most people confuse:
- Washing frequency = how often you clean it
- Replacement frequency = when the fabric itself is worn out
You can wash a towel regularly and still need to replace it.
Quick Replacement Rules for Busy Kitchens
I keep it practical.
Replace your kitchen towels when you notice:
- A musty smell even after washing
- Fraying edges
- Thin or worn patches
- Reduced absorbency
If it feels damp longer than it used to, that’s your signal.
You don’t need to throw them out weekly. But you shouldn’t keep them for years either.
Now be honest with yourself — how many “clean” towels in your kitchen are actually past their prime?
3. Cutting Boards — Hidden Cracks = Hidden Bacteria
Your cutting board probably looks fine.
No big cracks. No dramatic damage. Just a few knife marks from years of chopping. But those tiny grooves? That’s where things get tricky.
Every time you slice chicken, chop herbs, or dice onions, your knife leaves behind small cuts. Over time, those cuts deepen. Food particles settle in. Moisture stays trapped. And cleaning doesn’t always reach the bottom.
This is where cross-contamination quietly happens — especially if you’re using the same board for raw meat and vegetables. Even the USDA emphasizes proper cutting board hygiene and safe handling practices.
Most people don’t replace boards because they “still work.” That’s not the right test.
Plastic vs Wooden Boards — Which Wears Faster?
Both types have pros and cons.
Plastic boards:
- Show knife marks more clearly
- Develop deeper grooves over time
- Are dishwasher safe but wear faster with heavy use
Wooden boards:
- Can self-heal slightly
- Are gentler on knives
- Still develop cracks if not maintained
The real issue isn’t material. It’s surface condition.
Deep grooves trap food particles. And once those grooves get too deep, proper cleaning becomes harder.
As a general rule:
- Light home use: replace every 1–2 years
- Heavy cooking: sooner if grooves are deep
If you cook daily like I do, you’ll notice wear much faster.
Visual Cues a Cutting Board Is No Longer Safe
Don’t wait for it to split in half.
Replace it if you notice:
- Persistent smells even after washing
- Excessively deep knife grooves
- Warping or uneven surface
- Cracks forming along edges
Run your finger across the surface. If you can clearly feel trenches, bacteria can live there too.
4. Non-Stick Cookware — When Performance Becomes a Health Risk
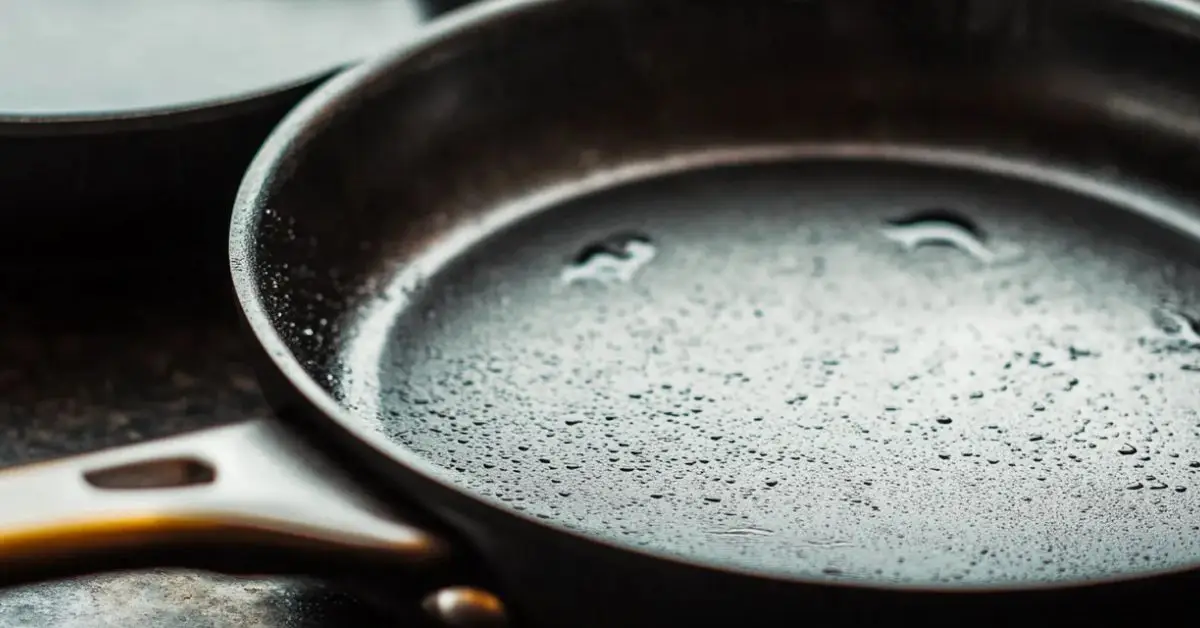
Non-stick pans are convenient. I get it.
You use less oil. Cleanup is easy. Eggs slide right off — until one day they don’t.
That’s usually the first sign something’s changing.
Most people think you replace non-stick cookware only when it looks terrible. But the real issue starts before that. High heat, metal utensils, and daily use create micro-scratches in the coating. Over time, that surface weakens.
It’s not just about appearance. It’s about performance and safety.
Why Non-Stick Coatings Wear — And When It Matters
Here’s what speeds up wear:
- Cooking on high heat regularly
- Using metal spatulas
- Stacking pans without protection
- Running them through the dishwasher repeatedly
As coatings degrade, you’ll notice:
- Food sticking more often
- Uneven cooking
- Visible scratches or dull patches
If the coating is peeling or flaking, it’s definitely time to replace it.
Even before peeling, if your pan no longer performs the way it used to, that’s your signal.
Safer Replacement Options
If you cook frequently, consider upgrading instead of repeatedly replacing.
You might look into:
- Cast iron (durable, naturally non-stick when seasoned)
- Stainless steel (no coating to degrade)
I’m not saying you must ditch non-stick forever. But if you’re replacing it every year because it keeps failing, it might be time to rethink the type of pan you rely on.
Take a quick look at your favorite pan right now. Is it still working the way it did when you bought it — or are you just used to compensating for it?
5. Plastic Storage Containers — Not Just Wasteful, Potentially Harmful
Open your cabinet right now.
I’m guessing you’ll find at least a few plastic containers that are stained red from pasta sauce. Maybe one smells faintly like last week’s leftovers. Maybe a lid doesn’t snap the way it used to.
Most people replace containers only when they crack. But the real issue often starts earlier.
Repeated heating, washing, and freezing slowly break plastic down. Over time, the surface becomes porous. It stains. It holds odor. It traps bacteria in tiny scratches you can’t see.
Food safety discussions around aging plastic containers — including concerns about long-term wear and chemical exposure — are often raised in consumer health coverage like NDTV Food’s kitchen safety discussions.
The point isn’t panic. It’s awareness.
How Plastics Degrade Over Time
Here’s what usually happens:
- Containers warp in the microwave
- Surfaces stain permanently
- Odors linger even after washing
- Lids lose flexibility
Older plastics may also raise concerns around BPA or other chemical tradeoffs, especially if they’re scratched and repeatedly heated.
If you’re microwaving food daily in the same aging container, that wear adds up faster than you think.
Visual Replacement Cues
I replace plastic containers when I see:
- Cracks along the edges
- Cloudiness that doesn’t wash off
- Lids that no longer seal tightly
- Persistent smells
If it doesn’t seal properly, it’s not storing food safely.
And if you hesitate before using it, that’s probably your sign.
6. Filters & Micro Parts — Often Forgotten but Critical

This is where most kitchen lists stop short.
They talk about sponges. Towels. Pans. But they skip the parts you don’t see.
Filters and small internal components quietly wear out — and when they do, performance drops long before you notice.
Why Filters Degrade — And How Often to Check Them
Think about what filters actually do:
- Trap particles
- Block sediment
- Capture grease
- Control airflow
Over time, they clog.
You might notice:
- Reduced water flow
- Slower coffee brewing
- Weak ice production
- Lingering cooking odors
Most homeowners forget to check:
- Refrigerator water filters
- Range hood filters
- Coffee maker filters
And because they’re “out of sight,” they’re often out of mind.
As a simple rule:
- Check appliance filters every 3–6 months
- Replace based on manufacturer guidance or visible clogging
If performance drops, don’t assume the appliance is failing. Sometimes it’s just the filter.
Micro Parts That Silently Need Replacing
Some of the smallest components cause the biggest issues.
Pay attention to:
- Refrigerator air filters
- Range hood grease filters
- Coffee maker internal gaskets
- Dishwasher seals
Rubber gaskets dry out. Filters clog. Seals weaken.
These aren’t glamorous replacements. But they directly affect food safety and appliance lifespan.
If your coffee tastes different or your fridge smells slightly off, don’t ignore it.
Timing & Practical Replacement Cues (Cheat Sheet)
I know what you’re thinking.
This is a lot to remember.
So let’s simplify it.
Concrete Replacement Timelines
Here’s a practical breakdown you can actually follow:
Daily / Weekly
- Replace sponges every 1–2 weeks
- Wash dish towels daily; replace when worn
Quarterly
- Check water and coffee filters
- Inspect range hood filters
Yearly (or sooner if worn)
- Cutting boards with deep grooves
- Non-stick pans showing coating wear
- Plastic containers with cracks or warping
You don’t need a calendar reminder for everything. You just need awareness.
And if you’re already in reset mode, you’ll love this breakdown of kitchen counter items to clear tonight for a cleaner, calmer home.
Quick Visual Checks for Each Item
When in doubt, look for:
- Odor that doesn’t go away
- Cracks or surface damage
- Warping or uneven bases
- Coating loss
- Reduced performance
If something smells, leaks, sticks, or performs worse than it used to — that’s your cue.
Let me leave you with this:
Walk into your kitchen today and pick one drawer or cabinet.
What’s in there that you’ve kept simply because “it still works”?
Sometimes replacing one small thing makes your whole kitchen feel cleaner — and safer.
How to Safely Dispose & Upgrade Sustainably

Most articles stop at “throw it away.”
But I don’t think that’s enough.
If you’re replacing items more often for hygiene and safety, you should also know what to do with the old ones. Otherwise, we’re just trading one problem for another.
Don’t Just Toss — Think in Layers
Before you throw something in the trash, ask yourself:
- Can it be recycled?
- Can it be repurposed?
- Does it belong in a specific disposal stream?
For example:
- Old sponges (if natural cellulose) may be compostable.
- Plastic containers can sometimes be recycled — check the number at the bottom.
- Metal cookware can often go to scrap recycling centers.
- Water filters may have brand-specific mail-back programs.
Simple Sustainable Upgrades
If you’re replacing something anyway, upgrade wisely. Before buying a “better” version, take a look at kitchen gadgets professional organizers say you don’t need — you might save money and space.
Instead of buying the same low-quality item again, consider:
- Silicone scrubbers instead of synthetic sponges
- Glass containers instead of aging plastic
- Stainless steel or cast iron instead of repeatedly replacing non-stick
- Washable, durable filters where possible
You don’t have to overhaul your kitchen overnight.
Start small. Replace intentionally. Upgrade gradually.
That’s how you build a safer kitchen without creating unnecessary waste.
Final Thoughts
Your kitchen doesn’t need to look broken to be worn out.
Small items — sponges, towels, cutting boards, pans, containers, filters — quietly affect hygiene, safety, and performance every single day.
I’ve learned that replacing the right things at the right time doesn’t feel wasteful. It feels responsible.
And once you start paying attention, you’ll notice how many “still usable” items are actually past their prime.
Now I’m curious.
Which item in your kitchen do you think you’ve kept longer than you should have? Drop it in the comments — I read every one.
And if you found this guide helpful, you’ll find more practical, no-fluff home advice over at Build Like New — where we focus on smarter upgrades, better maintenance habits, and building homes that actually last.
Disclaimer: This article is for general informational purposes only. It is not a substitute for professional medical, safety, or manufacturer advice. Always follow official guidelines and your appliance manufacturer’s instructions before replacing or disposing of kitchen items.

